

Key Takeaways
Restoring the sheet metal on a classic British sports car requires patience and a systematic approach to ensure long-term structural integrity and a factory-correct finish. By focusing on proper metal preparation and accurate fitment, enthusiasts can successfully bring their vehicles back to life.
- Select high-quality panels based on your specific restoration goals and budget constraints.
- Perform thorough inspections to differentiate between minor surface rust and critical structural decay.
- Utilize essential metalworking tools and secure clamping methods to achieve precise alignment during panel replacement.
- Employ controlled welding techniques, such as butt welding, to preserve the surrounding body lines.
- Prioritize internal rust protection to guard against moisture after completing your panel work.
Understanding MG body panel types and materials
Heritage panels versus aftermarket options
Deciding between original specification components and cost-effective alternatives is the first major step in any MG body panels replacement project. British Motor Heritage parts are manufactured using the original factory tooling, meaning they provide the highest level of accuracy for panel gaps and contours. While these panels often come at a premium, they significantly reduce the labor time spent on modification, whereas aftermarket pieces might require more trimming and persuasion to align correctly on older chassis.
Identifying steel gauge and composition
Classic MGs were constructed primarily from mild steel, which simplified the manufacturing process but made the cars particularly susceptible to corrosion over decades. Identifying the correct gauge for each section is vital, as manufacturers often used thinner material for non-load-bearing skins compared to the structural inner reinforcements. Matching the original thickness ensures that the spot welds will fuse correctly without burning through the base metal or warping the surrounding area.
Sourcing parts for specific MG models
Finding exact components can be tricky because specifications shifted frequently between the early chrome bumper models and the later rubber-bumpered versions. Classic 2 Current Fabrication provides a range of repair sections that help address these unique model differences throughout the production lifecycle. It is essential to double-check the chassis number and production year before purchasing, as seemingly identical panels may feature small variations in marker-light piercings or mounting point locations.
Assessing body damage and panel integrity
Distinguishing between surface rust and structural corrosion
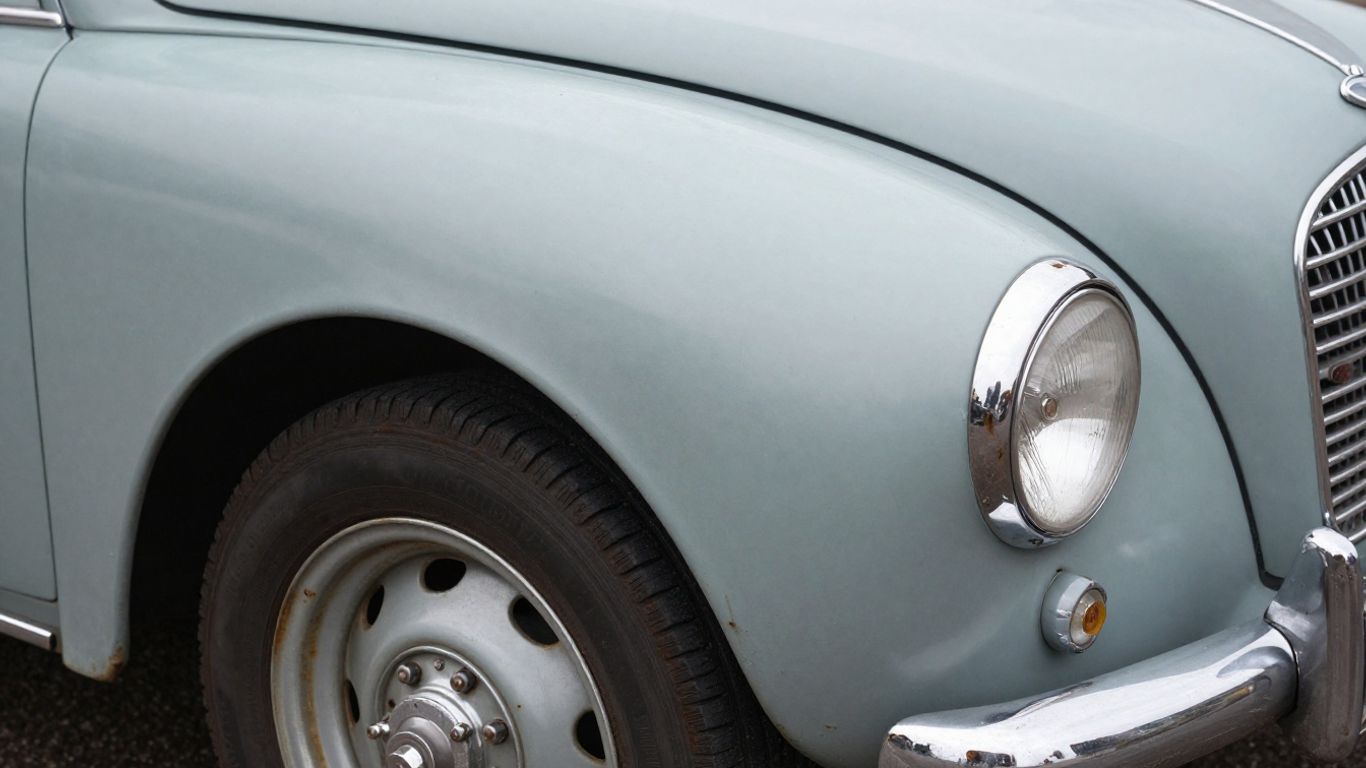
Distinguishing between cosmetic blemishes and deep-seated structural damage is the most critical evaluation phase for any car enthusiast. Surface rust usually affects the top layer of paint and requires sanding, whereas structural corrosion causes, in many cases, crumbling metal and weakened attachment points that compromise the vehicle’s stiffness.
Benefits of performing partial panel repairs
Performing a partial replacement allows you to retain as much original factory metal as possible. It is often faster and less invasive than a full panel swap, which helps lower the risk of altering the car’s original structural alignment.
| Panel Type | Repair Logic | Difficulty Level |
|---|---|---|
| Floor Pans | High priority for weight | Medium |
| Rocker Panels | Structural reinforcement | High |
| Trunk Floors | Moisture-prone area | Low |
By focusing on these specific areas, you can effectively treat localized rust while maintaining the history of the rest of the shell.
Determining when full panel replacement is necessary
Sometimes, the damage is just too extensive to patch, especially when the metal has lost its original shape or rigidity across a large area. Full, high-quality MGB skin panels become necessary when the structural integrity of the entire wing or door skin is compromised beyond the reach of localized repair. In such cases, replacing the entire piece is cleaner and provides a more reliable foundation for the final paintwork.
Essential tools for bodywork restoration
Metal cutting tools and grinders
Having the right cutting equipment is foundational to getting a clean edge before you start the welding process. Using high-quality pneumatic cut-off wheels or small electric angle grinders with thin discs allows for precise removal of fatigued metal without causing unnecessary damage to the surrounding healthy panels.
Clamping systems for precise alignment
Securing your new metal in the correct orientation is often more difficult than the welding itself. A variety of magnets, Cleco fasteners, and self-locking clamps will save you hours of alignment work, helping to ensure the panels stay flush while you bridge the gaps during the initial tack-welding stage.
Welding equipment selection and electrode types
For most automotive work, MIG (Metal Inert Gas) welding is the preferred method due to its speed and ease of use in thin-gauge sheet metal. Using a fine-wire setup with an inert gas blend helps reduce the amount of spatter and keeps the heat localized, which is ideal when you are working on sensitive exterior body panels.
Measuring tools for maintaining chassis symmetry
Maintaining the relationship between frame rails and body mounting points is extremely important for ensuring doors close properly. Using simple framing squares, digital levels, and even basic string lines can help you verify the symmetry of the car throughout the restoration process. Always check these measurements before and after welding a new piece of structural steel into place.
Removing damaged MG body panels
Stripping the interior and trim components
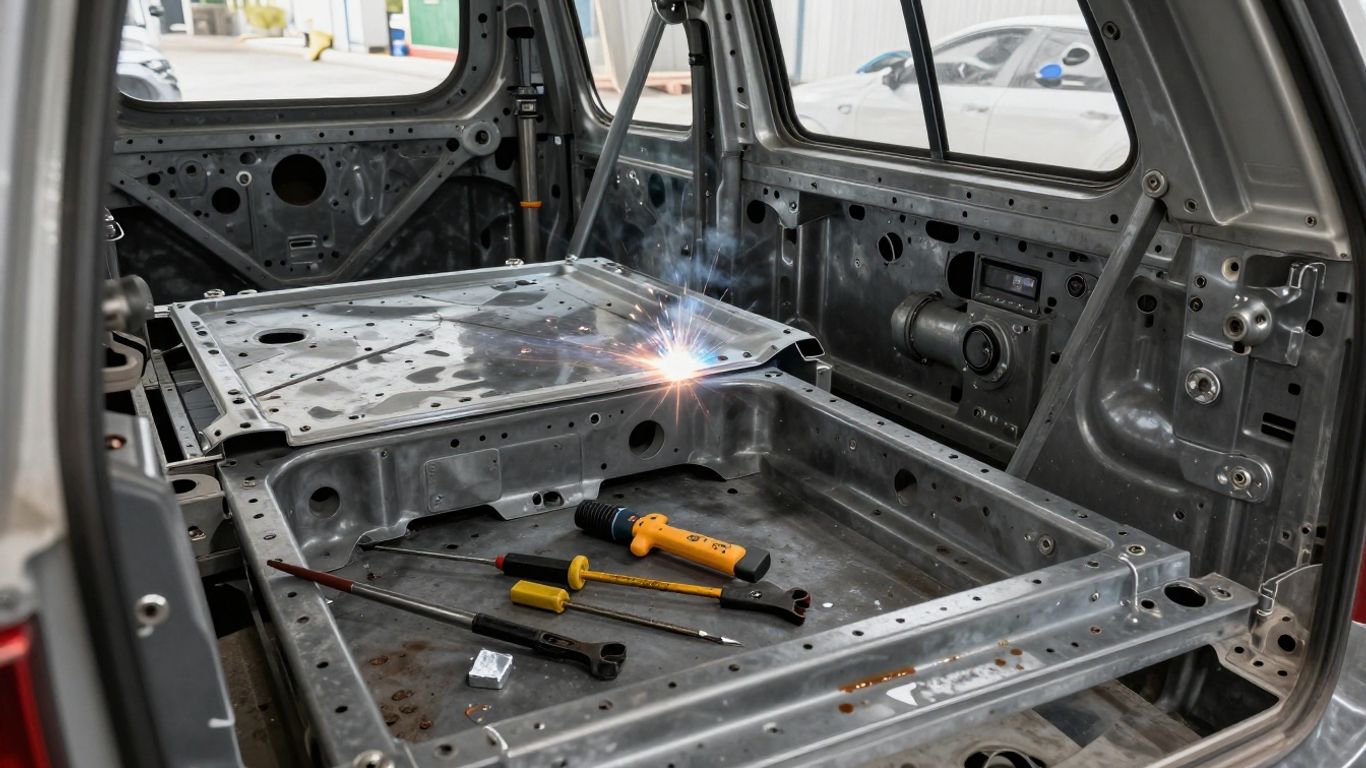
Before taking any drastic measures with a welder, you need to strip everything away from the work area to prevent accidental fires or heat damage to the interior. Remove upholstery, wiring looms, and rubber weatherstripping, as the heat from your essential MGB body parts installation can melt materials that are not even in the direct path of the flame.
Spot weld drilling techniques without damaging the substrate
Removing panels often involves drilling out dozens of original spot welds. Using a dedicated spot-weld drill bit—which centers itself and cuts around the nugget rather than through the entire assembly—is the best way to separate layers without chewing up the underlying substrate that you intend to keep.
Managing tension in the remaining body structure
Taking off major pieces like a door skin or quarter panel can relieve the tension that keeps the body shell rigid. It is common practice to support the car on level ground with proper jack points or brace the internal door apertures to prevent the chassis from shifting under its own weight.
Safely accessing hidden fasteners and mounting points
Many fasteners are tucked behind internal bracing or wheel arches, requiring a bit of patience to find and extract. Once you have reached these area, take care to document where the hardware came from, as these hidden connections often hold the tension-critical parts of the body together.
Welding and fitting new replacement panels
Butt welding versus lap welding methods
Butt welding is generally preferred in automotive restoration because it produces a flush seam that is much easier to finish. While lap welding is faster and provides a stronger mechanical bond on thicker steel, it creates a small edge that acts as a moisture trap, leading to future corrosion issues if not sealed perfectly.
Maintaining factory-spec panel gaps and body lines
Achieving the legendary fit of factory-spec gaps requires constant testing of the panel orientation before final welds are applied. Use spacers to maintain consistent clearance between fixed body parts and the new piece, and be prepared to perform multiple test-fits with the doors or hood shut to check clearances.
Techniques for minimizing panel heat distortion
Thin automotive steel tends to warp easily when subjected to too much concentrated heat during welding. By using a series of small, staggered tack welds rather than one long bead, you allow the heat to dissipate, keeping the panel flat and reducing the amount of grinding later on.
Testing the fitment before final securement
Always ensure the new component is properly aligned in all three dimensions before locking it down. Verify the height of the character lines and the contour against existing parts, as even a one-millimeter offset will be glaringly obvious once a glossy paint finish is applied to the metal.
Finishing techniques and rust protection
Grinding and smoothing welds for a seamless look
Once the panels are fully joined, it is time to clean up the weld beads. Using a flap disc on an angle grinder allows for controlled removal of the high spots until the weld is perfectly flush with the surrounding surface. Be careful not to thin the metal too much; just aim for a smooth transition that mimics the original stamping.
Metal finishing and the application of body fillers
Metal finishing includes using a hammer and dolly to tap down high spots, which significantly reduces the amount of body filler you will eventually need. Apply the thinnest layers possible to cover any minor pinholes or surface imperfections, ensuring that your final finish is durable and resists cracking over time.
Importance of internal cavity wax and rust prevention
After all the work is done, you must address the hidden side of the metal. Applying a high-quality cavity wax into inner shells and behind panels provides an essential barrier against moisture and air, which is the primary cause of internal rust recurrence in classic cars.
Prepping the new metal for primer and paint layers
Before spraying primer, thoroughly degrease the entire panel. A clean surface ensures that the epoxy primer adheres effectively, sealing the metal completely and providing a solid, inert base for the high-build primers and final color coats to follow.
Conclusion
Successfully replacing body panels on an MG is a rewarding process that bridges the gap between mechanical repair and artistic finish. By taking your time with the removal of old metal, welding with heat control, and applying modern protective coatings, you can secure the longevity of your machine for decades to come.
Frequently Asked Questions
What are the most common areas for rust on an MG?
Floor pans, rocker panels, and the lower sections of the wings are typically the first areas to suffer from corrosion due to their proximity to road debris and potential water traps.
Should I always use original OEM panels?
While original panels offer the best fitment, modern, factory-tooling-based reproductions provide a high-quality alternative that is often more accessible and easier to source for daily restoration projects.
How can I stop panels from warping when welding?
Focus on using a sequence of small, spread-out tack welds to keep heat exposure to a minimum, and allow each spot to cool completely before moving to the next one.
Do I need a professional welder for this?
While professional expertise helps, many enthusiasts learn to perform clean, strong welds on sheet metal using a standard MIG welder if they are willing to practice on scrap metal first.
What is the best way to remove old spot welds?
Using a specific spot-weld drill bit is the most effective method, as it centers on the dimple and cuts only the top layer of metal without ruining the panel beneath it.
Does weatherproofing matter for internal body parts?
It is absolutely essential; once the inside of a box section is sealed off, it can become a rust trap if you do not use cavity wax or a dedicated anti-corrosive internal coating.
Is it better to weld or bond new panels?
While modern structural adhesives exist, welding remains the preferred method for classic MG restoration because it replicates the original factory assembly and ensures a permanent mechanical connection.