
Key Takeaways
Performing maintenance on vehicle brakes is essential for road safety and long-term reliability. This guide provides a clear pathway for maintaining your vehicle’s braking performance through periodic care and quality component selection.
- Select brake pads that meet your vehicle’s manufacturer specifications.
- Use proper safety equipment and jack stands whenever elevating the vehicle.
- Clean all hardware and disc surfaces thoroughly to ensure proper seating.
- Bed in new pads carefully to prevent glazing and noise issues.
- Verify all torque settings match the service manual to avoid loose components.
Preparing for your MG brake pads replacement
Starting a brake service requires careful planning to ensure the job proceeds without interruptions. Before beginning, verify your vehicle model requirements to select the correct brake pad compound for your commute. Owners looking for convenient options might check AutoGuru for local support or part identification services.
Identifying the correct brake pad specifications
Choosing the right parts is the foundation of a successful brake job. You must cross-reference your specific vehicle model and year to ensure the shape, shims, and friction material match your factory requirements. Some models may require a Standard Replacement Brake Pad and Rotor Kit to ensure all components fit exactly as engineered, reducing the risk of premature wear and noise.
Essential tools for automotive brake work
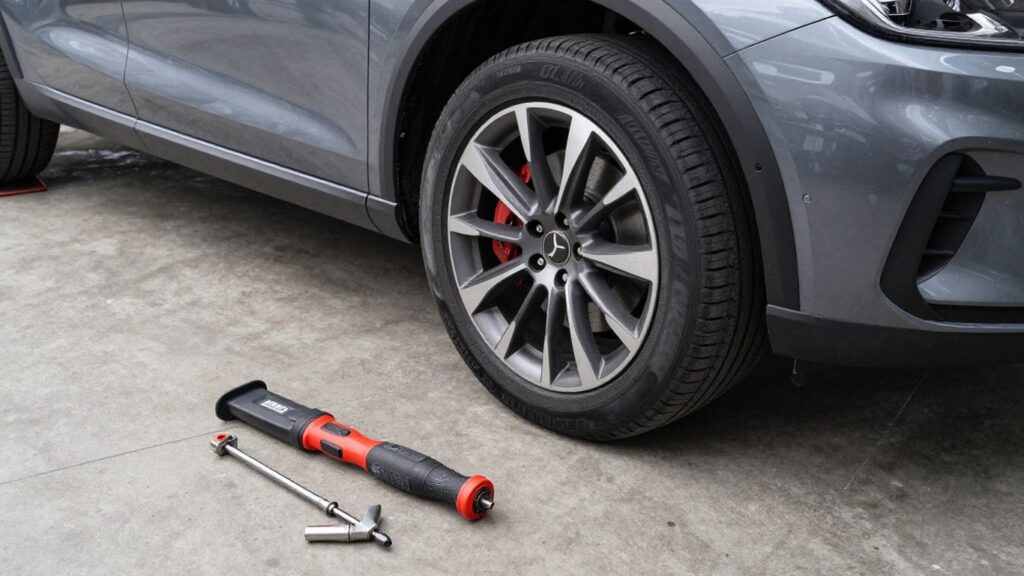
Having the right equipment prevents damage to sensitive hardware and keeps your workflow moving efficiently. You should gather the following items before starting your project:
- A reliable hydraulic floor jack and safety jack stands
- A socket wrench set with metric and imperial sizes
- A brake piston compression tool or C-clamp
- High-temperature brake grease and specialized cleaner
These tools help you work cleanly while maintaining precision throughout the process.
Safety precautions and vehicle stabilization
Always prioritize safety by working on a level, solid surface away from traffic. Once the vehicle is lifted, support the chassis using jack stands rather than relying solely on the hydraulic jack. Ensuring the vehicle is immobile prevents shifting while you apply force to break free stubborn bolts or disassemble the caliper units.
Assessing the condition of your current brake system
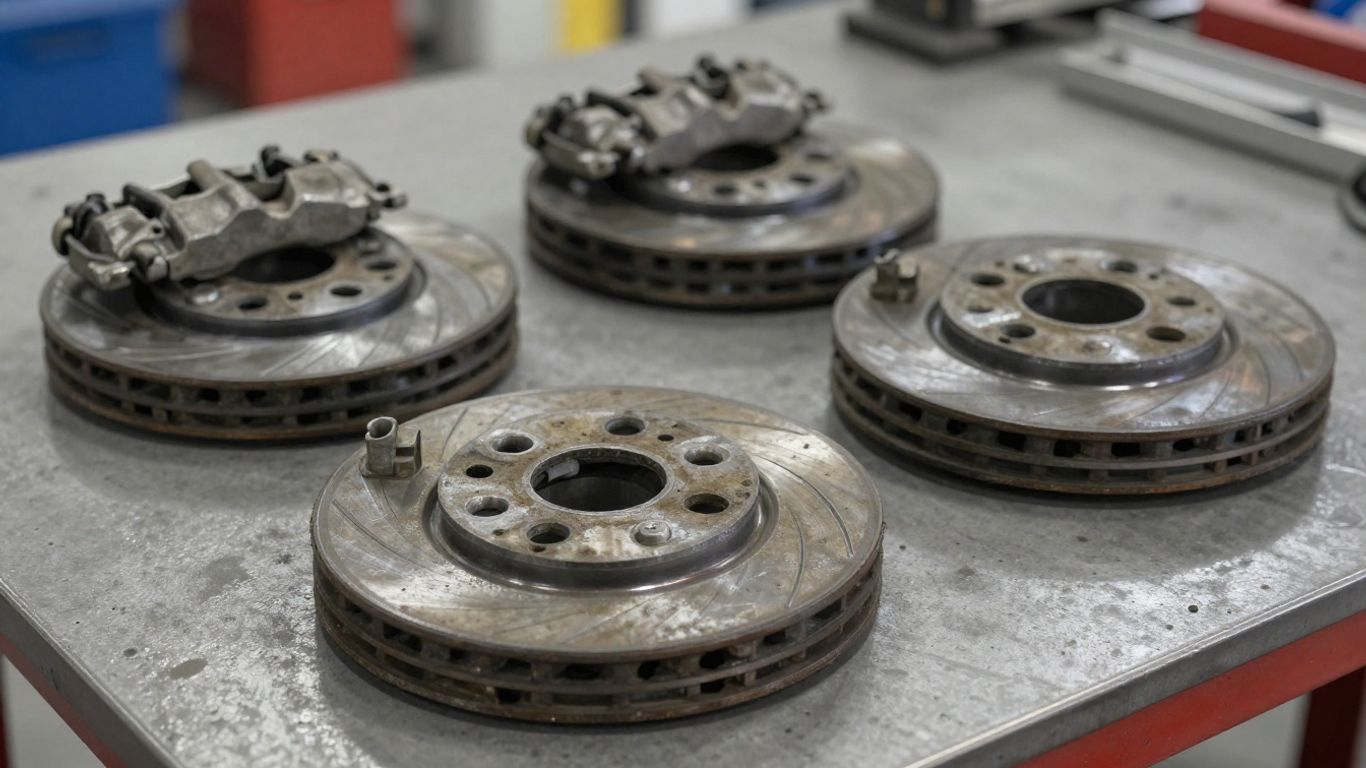
Before you remove anything, take a moment to look at the system to determine if deep-level service is necessary. Understanding whether your rotors show signs of deep scoring or heat damage helps you decide if a simple pad swap is sufficient or if you need a specialized My Auto Shop service appointment to ensure safety.
Signs of worn brake pads
Listen for unusual metallic scratching sounds when you apply pressure to the pedal. Most modern pads feature built-in mechanical wear indicators that make a distinct screeching noise once the friction material thins out. Regular physical inspection of the pad thickness through the wheel spokes is the best way to catch this before it impacts rotor health.
Evaluating the condition of brake rotors
Rotors serve as the friction surface, and their condition directly impacts your stopping power and pedal feel. You can evaluate their state by observing the typical characteristics shared in the industry through common comparisons:
| Observation | Likely Status | Action Required |
|---|---|---|
| Smooth finish | Healthy | None |
| Deep grooves | Worn | Machining or Replacement |
| Surface cracking | Compromised | Immediate Replacement |
If the rotors show significant pitting or deep grooves, the new pads will fail to seat correctly, leading to poor performance.
Checking brake fluid levels and system integrity
Inspect the brake fluid reservoir to ensure levels remain within the indicated min and max range. Dark or murky fluid often indicates moisture contamination, which can cause internal system degradation over time. Check the hose connections leading to the calipers for any signs of dampness or fluid seepage, as these represent critical failure points.
Removing the old brake pads
Once you have verified the condition, you can safely begin the disassembly process. This stage requires patience to ensure all bolts and pins are handled without stripping them.
Securing the vehicle and removing wheels
Loosen the lug nuts slightly while the car is still on the ground for better leverage. After jacking up the car and securing it on level stands, remove the wheels and store them safely aside. Clean the surrounding area to prevent debris from falling into the now-exposed braking components.
Caliper disassembly procedures
Remove the caliper bolts slowly. If they feel extremely seized, apply a small amount of penetrating fluid and let it soak before attempting to turn them further. Once the bolts are loose, lift the caliper off the rotor carefully, ensuring you do not strain the flexible brake hose attached to it.
Removing worn pads and cleaning hardware
Slide the old pads out from the bracket housing. Use a dedicated brake cleaner to remove dust and debris from the caliper slides, pins, and metal abutment clips. Maintaining a clean environment here prevents the new pads from binding inside the bracket housing.
Installing new MG brake pads
Installing the pads correctly guarantees that your system operates safely under all conditions. Applying the right material helps your high-performance stopping power remain consistent and quiet over many miles of driving.
Preparing the caliper piston
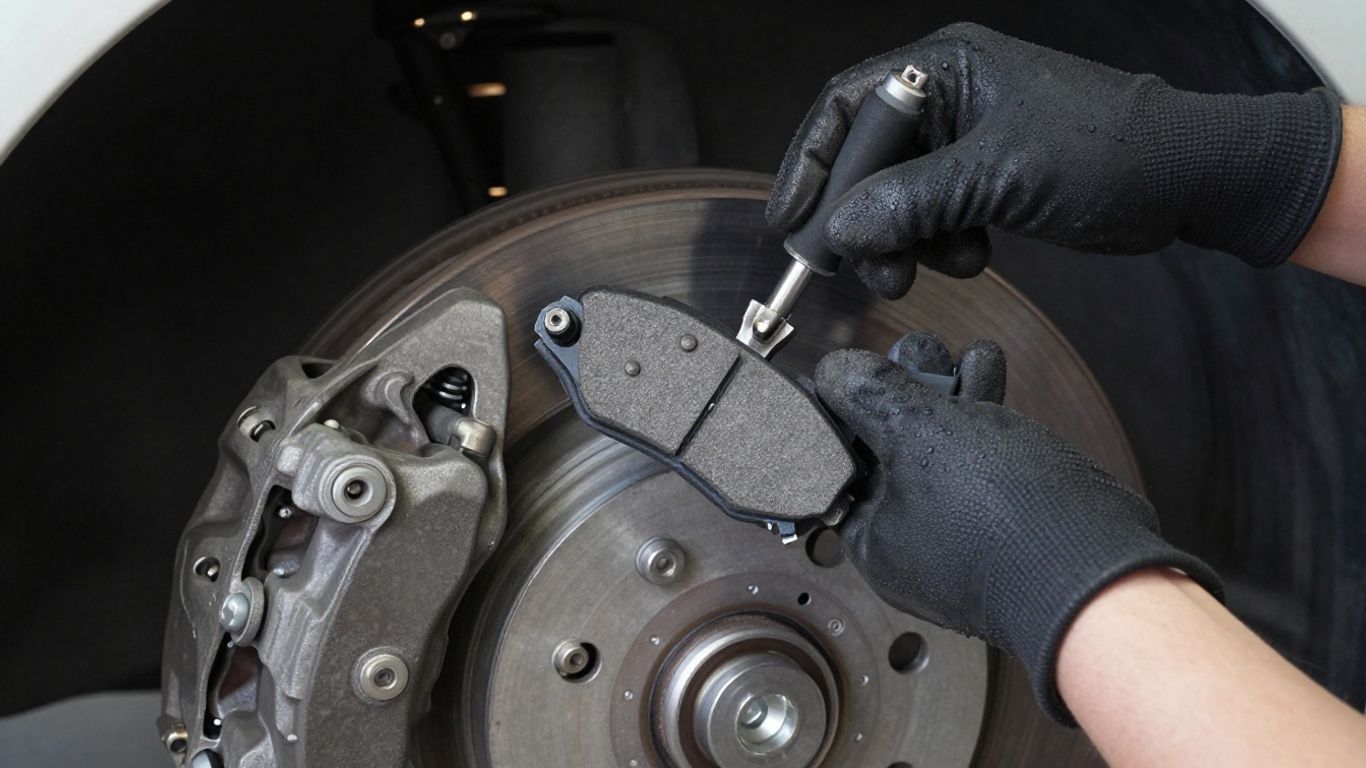
Use your compression tool to retract the piston into the caliper housing to make space for the thicker new pads. Open the hood to check the brake fluid reservoir level, as retreating the piston can cause the level to rise and overflow. Ensure the piston moves smoothly without sticking or seizing during the retraction phase.
Applying brake grease for noise reduction
Apply a light coating of high-temperature brake grease only on the rear of the pads and the slide contact points. Avoid getting any grease on the friction surfaces of the pads or the rotors, as this will lead to a loss of stopping effectiveness. This small step is vital for minimizing unwanted vibration noise during operation.
Proper seating of new brake pads
Insert the new pads into the bracket, ensuring they move freely. Slide the caliper back over the pads and rotor, then insert the pins or bolts by hand to avoid cross-threading. Once aligned, tighten the fasteners to the factory-specified torque required for your specific model.
Completing the reassembly and testing
Finishing the job involves verifying mechanical security and adapting the new materials to each other. Take your time with these steps as they serve as your final confirmation of a safe installation.
Reinstalling and torquing caliper bolts
Verify that the caliper bolts are tightened using a torque wrench. Avoid relying on air tools, as they can cause uneven pressure or bolt failure. Double-check that all clips are properly snapped into place and that no debris has entered the assembly.
Bedding in the new brake pads
Find a safe, secluded road to perform a series of moderate speed stops to condition the pads. This process helps transfer a layer of friction material onto the rotors, which maximizes grip and improves longevity. Avoid hard, emergency-level stops during the first few miles of the bedding process.
Final system check and test drive
Pump the brake pedal multiple times until it feels firm before putting the car into gear. Perform a low-speed test in your driveway to ensure the vehicle stops correctly. Monitor the pedal feel and noise levels during your first few miles of regular driving duty.
Troubleshooting common post-replacement issues
Even with a perfect install, some issues may arise as components settle. Calmly evaluating these sounds or sensations will help you resolve the root cause efficiently.
Addressing squealing or grinding noises
Squealing often indicates missed lubrication on the contact points of the pads or mounting clips. Grinding, however, suggests that a piece of debris might be caught between the pad and the rotor. Re-inspect the area to ensure no metal clips are rubbing against the rotor surface.
Correcting spongy brake pedal feel
If the pedal feels soft or sinks too far, you likely have trapped air in the hydraulic lines. Recheck the caliper bleeders to see if air is present and perform a proper brake fluid bleed if necessary. Ensure the fluid levels are topped off correctly according to the manual.
Identifying incorrect fitment or loose components
If you experience clunking sounds or vibrations, check the caliper bolts and mounting bracket for tightness. Incorrect fitment of the shims or wear sensors is a common culprit for loose parts. Remove the wheel to ensure everything is seated squarely within the assembly.
Conclusion
Successfully replacing your brake pads ensures your vehicle continues to perform effectively in daily traffic or extended travel. By prioritizing quality parts and careful installation techniques, you maintain a safer environment for yourself and other road users while getting the most out of your vehicle’s mechanical components.
Frequently Asked Questions
How often should I check my brake pads?
It is generally recommended to inspect your brake pads at every major oil change or roughly every 10,000 kilometers of driving.
Can I replace only one side of the brake system?
Always replace brake pads on both sides of the same axle simultaneously to ensure even braking pressure and consistent stopping performance.
Why does my brake pedal feel different after replacement?
Initial changes in pedal feel are common as the new pad surface adapts to the rotor, but it should firm up quickly as the bedding process completes.
Does driving style impact pad longevity?
Yes, aggressive braking and heavy traffic driving can significantly reduce the lifespan of your pads compared to highway driving.
Should I machine my rotors with new pads?
Machining your rotors is advised if they have visible scoring or warpage to ensure the new pads can seat perfectly against the metal surface.
What do I do if my brake fluid is low?
Refill the reservoir to the recommended mark, but keep in mind that low fluid often signals that your pads have worn down or a leak exists in your system.
Are all brake pad compounds the same?
No, brake pads vary by composition, ranging from ceramic to semi-metallic, each designed for different performance, noise, and dust requirements.