
Key Takeaways
Proper care for your vehicle’s wiring ensures peak performance and avoids common failures. These guidelines help you manage complex automotive systems effectively.
- Master basic circuit identification to prevent short circuits.
- Regular diagnostic checks save time and prevent major fires.
- Always use proper tools when assessing voltage drops.
- Document wiring changes to simplify all future repairs.
- Prioritize safety when working with high-voltage components.
Fundamentals of MG electrical systems
Understanding the electrical architecture of these iconic cars requires patience and a systematic approach. Whether dealing with a classic roadster or a modern hybrid, the movement of electrons follows consistent physical principles that remain the foundation of all repairs. Focusing on these basics allows owners to maintain reliability while preserving the character of their machines.
Understanding the Lucas wiring color codes
Lucas wiring looms are notoriously specific, using a standardized color-coding system that, once cracked, reveals the entire map of your vehicle’s electrical system. Historically, brown represents unswitched live feeds, while white is reserved for ignition-switched power, and green typically indicates auxiliary circuits fed through the fuse box. Maintaining an authentic repair style remains important for collectors who value original specifications.
Differences between vintage MG and modern electrical architecture
Vintage electrical systems often rely on mechanical regulators and simple relays, whereas modern designs integrate complex electronic control units. Classic cars feature simple, point-to-point wiring, while contemporary versions utilize localized control modules communicating over serial data buses. You might feel like you are mastering Rocket League mechanics when navigating these electronic interfaces, requiring a different mindset than purely mechanical tasks.
Essential tools for circuit testing
A solid diagnostic kit starts with a high-impedance multimeter and a good set of test leads. Beyond basic voltage measurements, you will need a reliable circuit tester and a set of jumper leads to simulate bypasses for failed individual components. Carrying out these tasks, similar to managing a jewelry sales campaign, requires careful organization of your diagnostic resources to ensure precision.
Identifying primary power distribution points
Power distribution centers are the heart of the system, connecting the battery to various branch circuits via fuses and links. You must locate the main solenoid, fuse blocks, and ignition switch terminals to successfully isolate faults. For shops offering electrical service near me, this systematic identification serves as the first step in any efficient diagnostic process.
Common electrical failure symptoms in MG vehicles
Intermittent electrical gremlins create significant frustration for owners, often hiding in plain sight within corroded contacts or frayed insulation. A methodical approach to observing symptoms helps narrow the field of potential suspects before any wires are cut. Documenting behaviors during various road conditions provides the data necessary to find the root cause.
Assessing intermittent power loss in classic models
Symptoms like slow fuel pumps or dim dashboard lights often point toward loose connections at the battery terminals or the main earth strap. If you are experiencing electrical issues with a modified setup, always check for recent changes that might have overloaded the circuit. Intermittent faults usually manifest as a flickering light or a sudden engine stumble, requiring a shake test of the wiring harness.
Diagnosing charging system failures and alternator performance
When the battery light illuminates or voltage levels fluctuate steadily during idling, the alternator is likely failing to sustain the required potential. A failing diode inside the alternator will prevent the battery from charging correctly, leaving you with a vehicle that dies unexpectedly. You should confirm output voltage both with and without electrical loads activated to determine current capacity.
Troubleshooting lighting and indicator malfunctions
Lighting issues often stem from simple bulb failures, but persistent problems usually trace back to oxidized stalk switches or faulty ground paths. The following table summarizes typical diagnostic checks for these systems.
| System | Diagnostic Goal | Primary Check Point |
|---|---|---|
| Headlight | Test Voltage | Switch Terminals |
| Indicator | Check Flash Rate | Flasher Unit |
| Tail light | Verify Ground | Connector Block |
Careful inspection of these terminal points resolves most lighting concerns without requiring a complete harness replacement.
Managing fuse box oxidation and terminal corrosion
Corrosion acts as an insulator, drastically increasing resistance and causing heat buildup at critical connection points. Regularly cleaning the blade terminals inside your fuse box prevents the high-resistance paths that lead to thermal degradation. This proactive maintenance ensures the electrical system remains stable throughout long drives.
Using diagnostic tools for MG electrical troubleshooting
Advanced diagnostics involve more than just observing visuals; you must quantify electrical flow through the system. Utilizing specialized equipment allows you to see the hidden activity within the loom. This approach turns troubleshooting from a guessing game into an exact science.
Practical application of multimeters in circuit testing
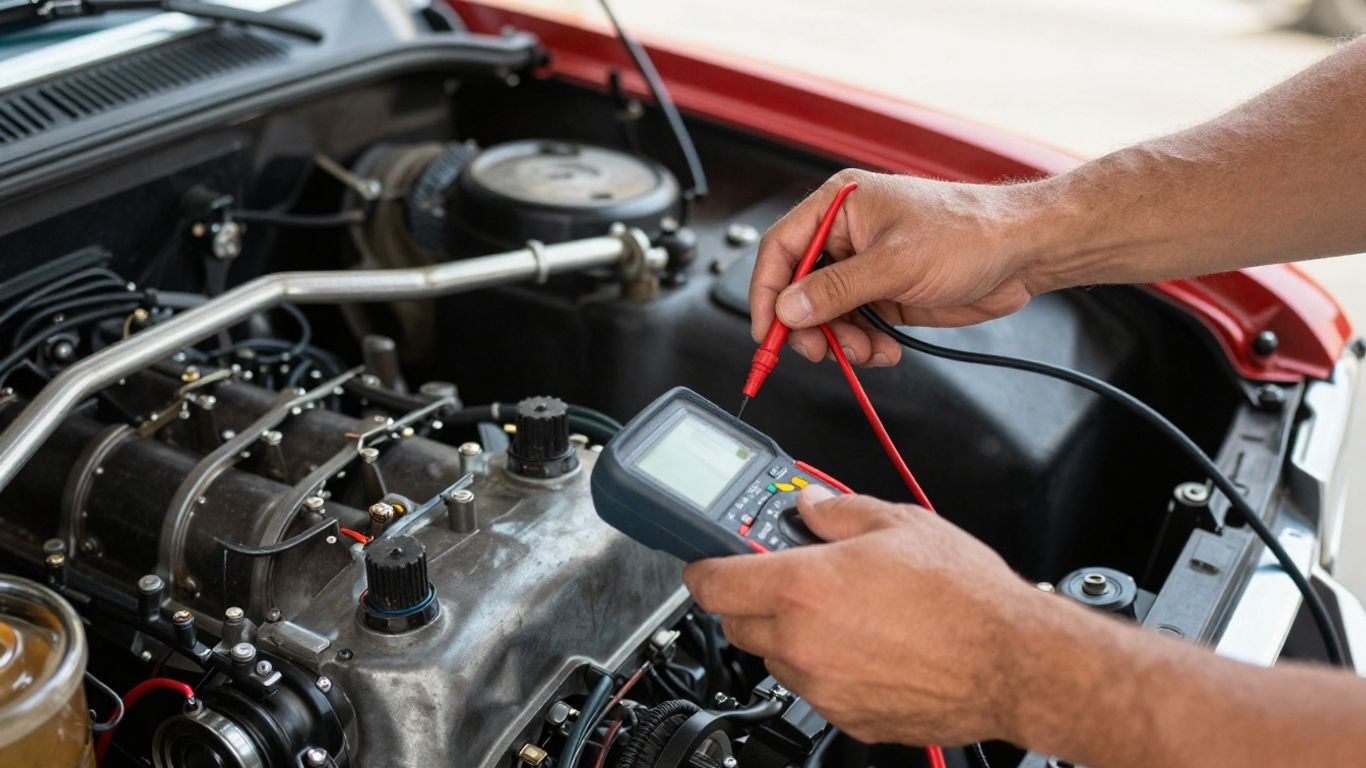
Multimeters allow you to perform voltage drop tests, which are the most accurate way to find hidden resistance in a loop. By measuring the difference between the source and the load while the circuit is active, you can identify precisely where the power is being lost. For those serious about repairs, this is a comprehensive guide to electrical system diagnostics that simplifies finding faults.
Utilizing OBD-II scanners for modern MG electric vehicles
Modern platforms require digital tools that read fault codes directly from the vehicle’s communication bus. These scanners translate cryptic blinking lights into clear error messages, identifying specific sensors that have stopped reporting correctly. Using the MG Electric Cars Diagnostic Tool significantly shortens repair times for sophisticated hybrid or battery-electric builds.
Checking chassis ground points for hidden resistance
Grounding problems represent perhaps the most common source of elusive electrical errors. A chassis ground point must be physically cleaned until metallic contact is achieved, then protected to ensure moisture cannot re-enter. Neglecting these areas is a common mistake when keeping citations consistent during the restoration and documentation of your vehicle’s history.
Interpreting continuity test results to isolate breaks
Continuity testing helps you verify that a wire runs unbroken from point A to point B, or that a switch is properly diverting current. Always disconnect the battery before testing continuity to prevent false readings or damage to the meter. A resistance value near zero indicates a healthy path, while an open loop indicates a fracture inside the insulation.
Best practices for rewiring or repairing MG harnesses
Rewiring provides an opportunity to modernize your vehicle while maintaining an original appearance. Using high-quality materials and professional techniques prevents future failures and improves safety. Before starting, consider that your strategy for keeping your car running efficiently involves planning every detail of the loom transition.
Selecting appropriate wire gauges for authentic repairs
Using the correct gauge for each circuit ensures wires do not overheat under load. Too thin, and the wire becomes a fuse; too thick, and it becomes difficult to route through the original chassis supports. A balanced choice of copper wire maintains the integrity of the original design.
Proper techniques for soldering versus crimping connections
While soldering creates a strong bond, crimping remains the preferred method for automotive applications where vibration is present. You should consider the following steps for reliable loom assemblies:
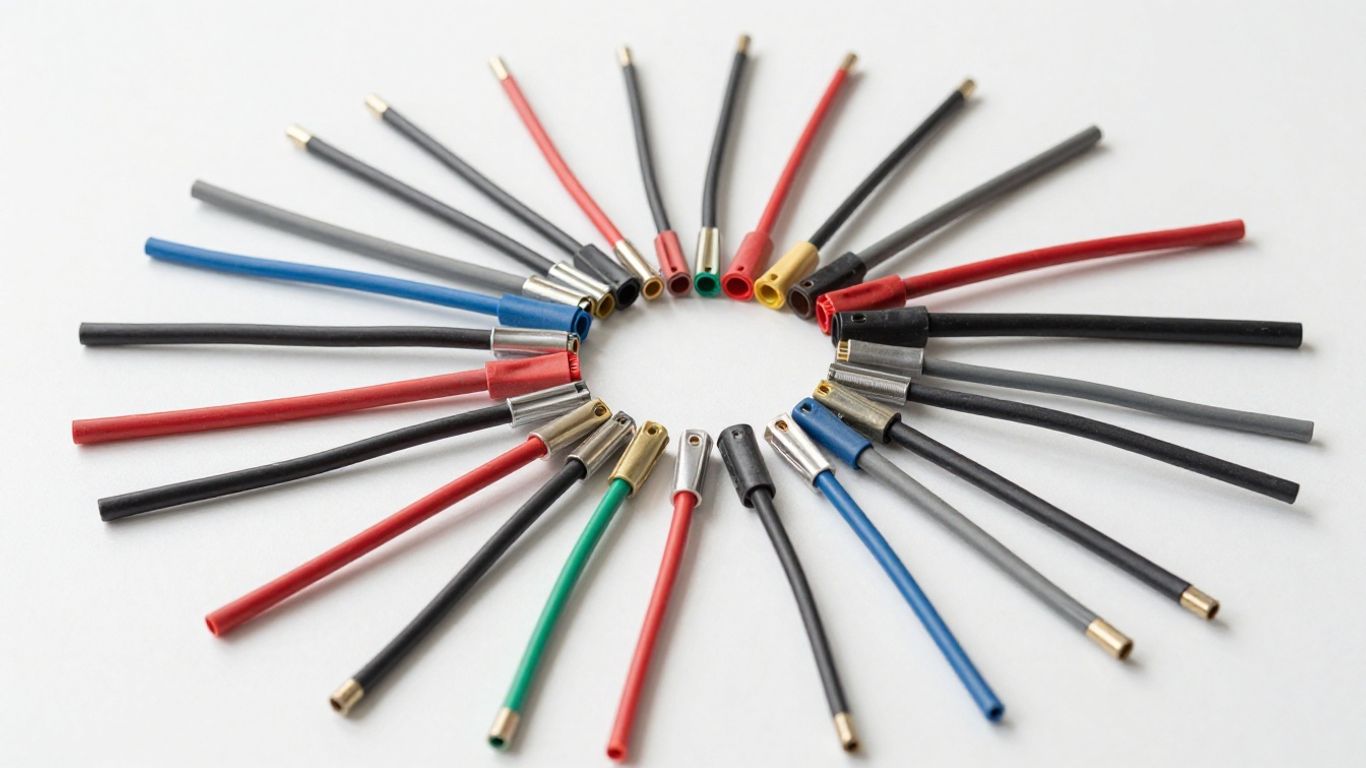
- Strip the wire cleanly without nicking the conductor strands.
- Apply the correct connector tool for a factory-standard crimp.
- Protect the connection point with heat-shrink tubing to prevent shorting.
- Ensure the wire is properly supported to avoid strain on the terminal.
Following these steps secures your harness against the rigors of the road.
Installing inline fuses to protect sensitive vintage components
Modern electronics, such as digital gauges or electric fans, require protected power sources that older models lacked. Adding an inline fuse near the power source protects your sensitive components from voltage spikes effectively. This small modification adds a layer of security without requiring a total overhaul of the current main box.
Heat management and loom protection strategies
In the engine bay, heat destroys insulation and makes wires brittle over time. You should wrap your wiring looms in high-temperature shielding, particularly near exhaust manifolds or headers. Using dedicated standoffs keeps wires away from heat sources and prevents chafing against moving parts.
Safety considerations during electrical work
Safety acts as the primary constraint for every electrical repair, and no deadline should ever override the need for proper circuit isolation.
Electrical work carries inherent risks, especially when dealing with battery capacity that can generate immense heat under a short. Always treat every wire as potentially live until confirmed otherwise. Maintaining a clean workspace prevents accidental shorts and keeps your projects organized.
Reducing the risk of battery short circuits and electrical fires
Disconnecting the ground terminal before working on the engine bay serves as the most effective defense against accidental shorts. If you keep the battery installed, place thick rubber mats over the terminals to prevent metallic tools from bridging them. Fires start fast, so having an extinguisher nearby is essential for any serious home builder.
Personal protective equipment for high-voltage EV service
Working on high-voltage hybrid or electric systems requires specialized gear, including insulating gloves rated for high voltage. Always wear eye protection because leaking electrolyte or shorting terminals can cause sudden flashes. These vehicles require specific ev service and repair certification for a reason.
Safely managing capacitor discharge on electronic control units
Electronic modules often contain large capacitors that hold charges long after power is disconnected. You must follow the shop manual precisely when probing these units to avoid high-voltage shocks. Give the system several minutes to bleed its internal energy before touching any internal sensitive circuitry.
Establishing a protocol for isolating live circuits
Create a clear "off" protocol for your workspace that requires verifying dead circuits with a meter before starting work. If someone else might enter the garage, use visual tags to indicate which systems are currently under maintenance. A consistent methodology effectively prevents accidental re-powering of circuits while you have components disassembled.
Documenting and maintaining electrical health
Keeping your electrical records updated is vital for managing vehicles that have seen decades of modifications. Accurate documentation allows you to trace faults quickly in the future. Treat this record-keeping as a part of managing your team and resources to ensure nothing is forgotten.
Creating personalized wiring diagrams for modified vehicles
As you replace old parts or add new accessories, update your master wiring schematic. Note every color change, relay addition, and new fuse allocation clearly. This map becomes the most valuable tool in your catalog when a fault eventually occurs.
Establishing a regular maintenance schedule for connectors
Once a year, inspect every connector for loose pins or signs of melting. Apply a dielectric grease to every joint to prevent oxidation and keep moisture out of sensitive terminal blocks. These small efforts extend the life of your entire wire loom indefinitely.
Importance of routine battery load testing for longevity
Batteries that sit for long periods age rapidly and lose their ability to hold a charge. A load test confirms that the battery can support the vehicle’s demands during a cold start. Frequent testing prevents you from being stranded when you least expect it.
Preventing environmental damage to wiring looms in classic builds
Environmental pollutants and engine grime break down the rubber and vinyl coatings on vintage wires. Cleaning the engine bay and covering exposed looms prevents oil tracking and road debris damage. Experts at MG Auto Electric recommend keeping wires clear of high-temperature contact points to maintain long-term reliability.
Conclusion
Mastering your vehicle’s electrical system transforms your ownership experience from one of uncertainty to total confidence. By systematically applying these diagnostics, you preserve the past while ensuring your car remains ready for the road today.
Frequently Asked Questions
Why does my battery drain even when the car is off?
A parasitic current draw often originates from an aftermarket radio, alarm system, or a stuck glovebox light that creates a slow path for power to reach the ground.
Can I use household wire for automotive repairs?
Solid-core household wire is brittle and prone to breaking from vibration, so you must always use stranded automotive-grade wire that is designed to flex without cracking.
How do I know if my alternator is bad?
A failing alternator typically provides low voltage to the battery, often accompanied by a flickering charging light or diminished electrical power to the headlights.
Should I disconnect the battery before cleaning terminals?
Yes, removing the negative cable first eliminates any risk of shorting your tools against the chassis or engine components while you clean or tighten the terminals.
What does the term voltage drop mean in diagnostics?
Voltage drop is the measure of potential energy lost as current moves through resistance, helping technicians locate corroded cables or high-resistance connections in a circuit.
Is it safe to repair a broken wire harness with electrical tape?
Electrical tape provides a temporary fix, but for long-term safety, you should use heat-shrink tubing and proper crimp connectors to protect the repair from heat and moisture.
How often should I check chassis ground points?
Ideally, inspect and clean your main ground connections every two years to ensure they remain free of rust and debris, maintaining a reliable path for current flow.