

Key Takeaways
A careful MG headlight bulb replacement starts with confirming the exact fitment, then following the access and installation steps for your particular headlamp. If anything feels forced or the beam still looks wrong, stop and get help rather than risking damage.
- Confirm the bulb type using the owner’s manual, existing bulb markings, and vehicle details.
- Switch off the lights, park securely, and let the assembly cool before starting.
- Remove and fit the bulb without touching its glass or forcing clips and covers.
- Check low and high beams, connections, and beam pattern after installation.
- Seek professional help for sealed assemblies, wiring faults, or uncertain headlight aim.
Identify the correct bulb for your MG
Bulb fitment can differ between model years, trims, and headlight assemblies, so avoid ordering based on the vehicle name alone. Check the information supplied with the car and compare it with the existing bulb where it is accessible. A few minutes spent confirming the specification can prevent a frustrating return visit.
Check the owner’s manual and bulb markings
Start with the lighting or maintenance section of the owner’s manual, then look for a type code printed on the old bulb. If the manual and bulb markings do not agree, or the marking is hard to read, verify the fitment using the full model year and headlight details before buying. Parts listings for MG 3 bulbs and MG TC/TD/TF lamps illustrate why it helps to identify the specific model rather than assume all MG lighting parts are interchangeable.
Confirm the model year and headlight type
Record the model year and check whether the car has halogen, LED, or HID headlamps; some versions of the same model may use different equipment. The lens appearance alone may not tell you which bulb is fitted. An owner’s manual, vehicle parts information, or a qualified parts supplier can help resolve uncertainty before you open the assembly.
Compare halogen, LED, and HID requirements
The bulb technology affects what can be replaced and how the job should be approached. Use the table as a starting point, not as a substitute for checking the exact vehicle specification.
| Headlight type | What to confirm | Practical caution |
|---|---|---|
| Halogen | Bulb code and wattage specified for the car | Avoid touching the glass envelope |
| LED | Whether the light source is replaceable and approved for the assembly | A complete assembly may be required on some vehicles |
| HID | Correct lamp type and service procedure | High-voltage components can make professional service the safer choice |
In particular, do not assume an LED or HID unit is a direct swap for a halogen bulb. Confirm compatibility and local road-use requirements before changing technology; the MG ZS EV bulb-change discussion offers model-specific context, but its installation details should not be treated as universal instructions.
Prepare your tools and work area
A tidy, well-lit work area makes it easier to keep track of small retainers and avoid damaging the headlamp. Check the vehicle instructions first, since the tools and access steps can vary. Set aside enough time to stop if the assembly differs from what you expected.
Gather gloves and basic tools
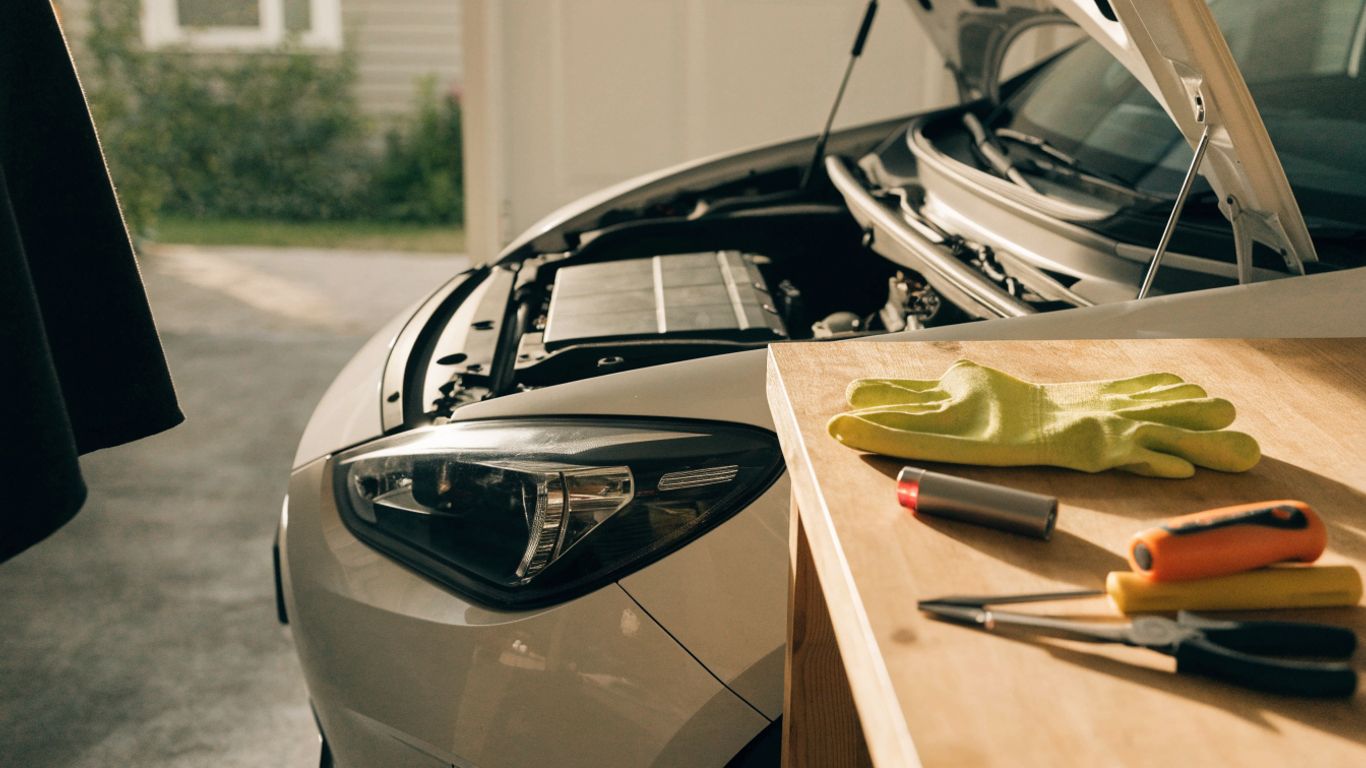
Have clean gloves, a small light, and any basic hand tools specified in the manual within reach. Keep a clean place to set the removed cover and connector, and use only tools that fit the fasteners. Gentle, controlled handling matters more than having a large tool kit; if a part will not move with light pressure, reassess before trying again.
Park safely and switch off the lights
Choose a level, stable place away from traffic, select Park or a gear as appropriate, and apply the parking brake. Switch off the headlamps and ignition, and follow the manual’s instructions about the vehicle’s electrical system. A simple preparation sequence helps reduce mistakes:
- Park on firm, level ground and secure the vehicle.
- Turn off the lights and ignition before opening the bonnet.
- Keep the key or fob away from the vehicle if the manual recommends it.
- Arrange a work light so both hands remain free.
Once everything is secure, pause and make sure the headlamps have fully switched off. Do not begin if the vehicle is in a location where you cannot work safely or see the parts clearly.
Let the headlight assembly cool
A headlamp that has been on may be warm, and the bulb or nearby components can retain heat after the lights are switched off. Give them time to cool before touching the rear of the assembly. If any part still feels hot, wait longer rather than rushing the job.
Access the headlight bulb
Access is usually from behind the headlamp, but the layout depends on the vehicle and the side being serviced. Use the manual to identify the correct cover and avoid pulling on nearby wiring or hoses. Work slowly enough to notice how each part is fitted before removing it.
Locate the rear access cover
Open the bonnet and find the rear of the headlamp corresponding to the bulb you are changing. The access cover may twist, unclip, or use another fastening method, so check its shape and the manual before turning or pulling. Set it aside somewhere clean where it will not be lost.
Check whether nearby parts need to be moved
Some engine-bay layouts leave enough room to reach the bulb, while others are cramped. Look for an approved access procedure in the manual before moving a nearby component; do not tug on a cable or remove parts simply to create more room. If access requires dismantling that you are not comfortable with, a workshop can handle it without guesswork.
Avoid touching the bulb glass
If the bulb is a halogen type, hold it by its base and keep fingers off the glass. Oils or dirt on the envelope can affect how it operates. If you touch it accidentally, follow the bulb maker’s cleaning instructions before fitting it, and keep the replacement protected until you are ready to install it.
Remove the old bulb and install the replacement
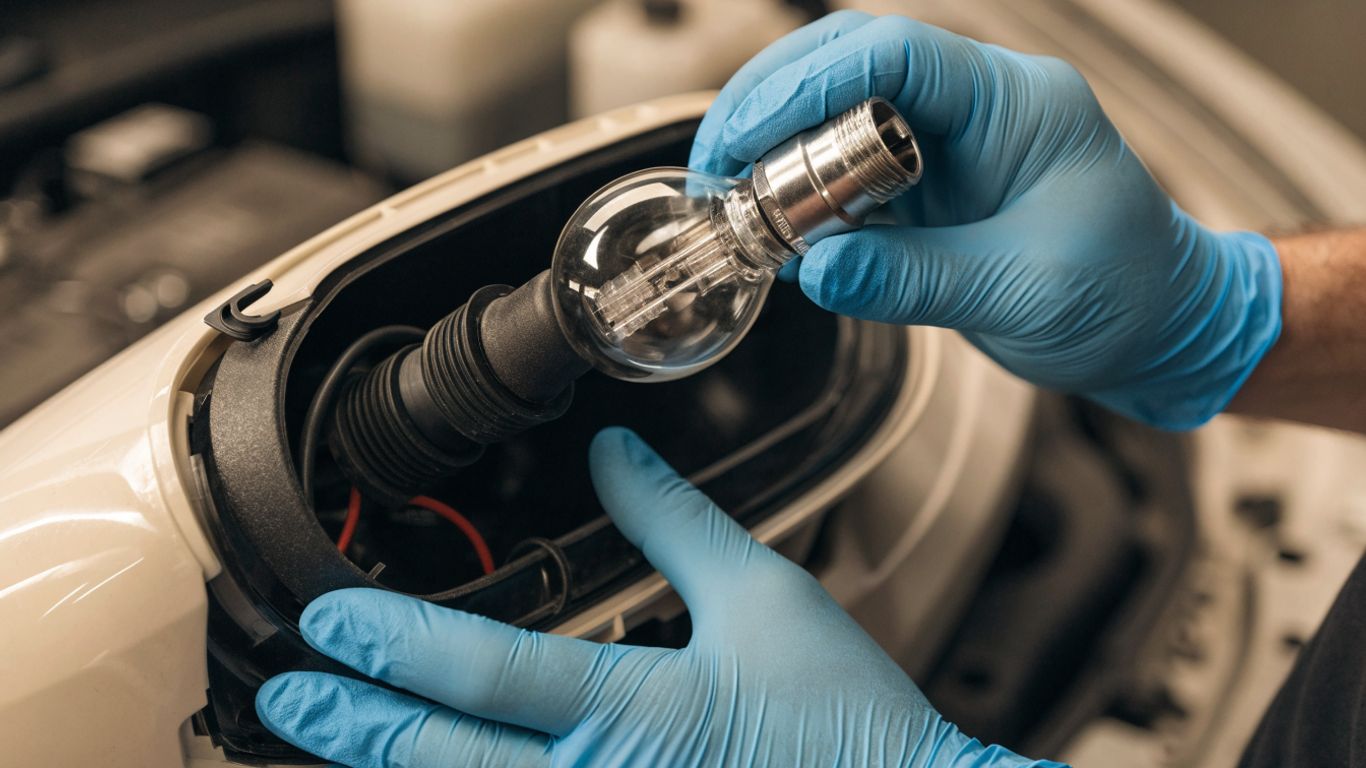
Once the access cover is off, take a moment to note the bulb’s orientation and how the connector and retainer are arranged. This small check makes reassembly easier and can help prevent damage to a fragile clip. If the parts do not match the instructions for your vehicle, stop and confirm that you have the correct bulb and procedure.
Disconnect the electrical connector
Release the connector using its tab or locking feature, rather than pulling on the wires. A connector can be snug, but forcing it risks breaking the housing or damaging the wiring. If you cannot see the release clearly, improve the lighting and consult the manual before proceeding.
Release the bulb retainer
The bulb may be held by a spring clip, retaining ring, or another mechanism. Note its position, then release it in the direction shown by the vehicle instructions; small retainers can spring loose, so keep a hand nearby to control them. Do not bend a clip to make it fit or use force when the arrangement is unfamiliar.
Align and secure the new bulb
Compare the replacement with the old bulb before installation: the base, tabs, connector, and type should match. Align the locating features with the slots and seat the bulb fully before securing its retainer. For a visual reference, this MG 3 replacement walkthrough shows a model-specific process; use your own manual if the access or hardware differs.
Test the headlight and check the beam
Reassembly is not complete until the bulb works and the lamp is closed up correctly. Check the connection and access cover before turning the lights on, then test the functions from a safe position. A bulb that illuminates is not necessarily seated or aimed correctly.
Reconnect the wiring and replace the access cover
Reconnect the electrical plug until it is secure, then refit the rear cover as designed. Check that the cover sits evenly and that no wire is trapped beneath it. A loose cover can allow moisture or dirt into the assembly, so correct any misalignment before testing.
Test low beams and high beams
Switch on the low beams first and confirm the replaced lamp illuminates; then check the high beams if they use that bulb or assembly. Keep clear of moving parts and do not stare directly into the light. Testing both settings helps reveal a disconnected plug or an incorrect bulb before the car is driven.
Look for flickering, warning lights, or uneven illumination
Observe the lamp for steady output and compare its appearance with the other headlight. Flickering, a warning message, or a visibly uneven beam can point to a poor connection, a fitment issue, or a problem beyond the bulb. If the light pattern appears unusually high, low, or scattered, avoid night driving until it has been checked.
Know when to get professional help
A straightforward bulb change is manageable for many drivers, but not every headlight is designed for simple access. Stop if the work requires force, unfamiliar electrical handling, or removal of parts beyond the instructions. A repair professional can identify whether the fault is the bulb, the assembly, or another part of the circuit.
Watch for sealed or hard-to-reach assemblies
Some headlamp units have limited rear access or use a light source that is not separately replaceable. If the manual calls for assembly replacement, or reaching the bulb means removing components you cannot safely refit, do not improvise. Getting help can save time and reduce the chance of a broken cover or damaged mounting point.
Get help with wiring or persistent faults
A new bulb that still fails, flickers, or triggers a warning may indicate a connector, wiring, or other electrical issue. Avoid probing circuits unless you have the right knowledge and equipment, especially around HID systems. If you need an estimate for a larger repair, MG ZS repair quotes are a separate option to explore; the actual cause should be diagnosed for your vehicle.
For readers looking beyond headlight work, the car decal guide, garage door insurance guide, career specialty guide, conflict and boundaries guide, and drone light show explainer cover unrelated topics. They are not part of a bulb replacement procedure.
Have the headlight aim checked if needed
A bulb can be installed correctly while the headlight aim is still wrong, particularly if the assembly was disturbed or the beam looks different from the other side. If the cutoff is uneven or the lamp shines into oncoming traffic, have the aim inspected with suitable equipment. Do not try to correct a persistent beam problem by repeatedly moving the bulb in its socket.
Conclusion
A successful MG headlight bulb replacement is mostly about confirming the right part, handling the assembly carefully, and checking the result before driving. Follow the instructions for your exact vehicle, and leave sealed, electrical, or hard-to-reach repairs to a professional when needed.
Frequently Asked Questions
How do I find the right headlight bulb for my MG?
Check the owner’s manual and the markings on the existing bulb, then confirm the model year and headlight type. Do not rely on the model name alone, since fitment can vary.
Can I replace a headlight bulb myself?
Often, yes, if the manual describes a straightforward replacement and you can access the bulb safely. Stop if the assembly is sealed, access is difficult, or parts do not match the instructions.
Should I wear gloves when changing a bulb?
Gloves help keep dirt and oils off the bulb and protect your hands. For halogen bulbs, avoid touching the glass; follow the manufacturer’s cleaning advice if it is touched.
Why does the new headlight bulb not turn on?
It may not be seated correctly, the connector may not be fully engaged, or there may be an electrical fault. Switch everything off and check the fit and connection only if it is safe to do so; otherwise seek diagnosis.
Do I need to replace both headlight bulbs at once?
Not necessarily. Check the condition and output of the other bulb, and follow the vehicle or bulb maker’s guidance. If the two lamps look noticeably different, ask a parts professional or mechanic what is appropriate.
Can I change a halogen headlight to LED?
Do not assume an LED bulb is a direct or permitted replacement. Confirm that the bulb and headlamp are compatible and that the setup meets local road-use requirements.
What should I do if the beam looks uneven after replacement?
Check that the bulb is correctly seated and that the cover and connector are secure. If the beam still looks uneven, have the headlight checked and aimed with proper equipment before driving at night.