

Key Takeaways
A useful emergency kit is tailored to the vehicle, the route, and the people traveling in it. Pack to stay visible and safe while help is on the way, and check the contents regularly.
- Read the owner’s manual before choosing vehicle-specific tools or tire equipment.
- Carry visibility gear, a flashlight, first-aid supplies, and a way to keep your phone charged.
- Use only the tire-repair method approved for your vehicle, and leave high-voltage components alone.
- Move away from traffic when safe, then call for assistance and share your location.
- Adjust supplies for the weather and journey, and inspect and replenish the kit routinely.
Check your MG’s equipment and roadside assistance
A well-planned MG roadside emergency kit starts with what is already in the vehicle, not with a shopping list. Equipment can differ by model and configuration, so avoid assuming that a familiar-looking car carries the same tools as another one. Check the manual and the items in the vehicle before buying replacements. Then make sure you know how to reach roadside assistance if a repair is beyond your ability.
Review the owner’s manual for model-specific guidance
The manual is the best place to check the vehicle’s recommended breakdown and tire procedures. Look for instructions on warning lights, tire repair, towing, and any equipment that should be used or avoided. Keep a digital copy available as well as the printed one, if you have it. That way, the guidance is still at hand if the paper manual is stored elsewhere.
Confirm which tools and safety items came with your vehicle
Open the storage compartments and identify what is actually supplied: a tire repair kit, tools, charging cables, or other equipment. Do not assume that a jack, spare tire, or wheel tools are present; confirm against the vehicle and its manual. A discussion of MG ZS EV equipment illustrates why checking the specific vehicle is more reliable than relying on a general expectation. Make a short inventory, note anything missing that you may need, and avoid adding tools that the manual does not recommend.
Check your roadside assistance coverage and contact details
Before a trip, confirm what assistance is available, how to request it, and whether the contact number in your phone is current. Keep policy or membership details accessible offline too, since mobile coverage can be unreliable. A concise note with the vehicle’s registration, location-sharing instructions, and assistance contact can save time when you are stressed. If you are preparing written vehicle guidance for others, brand-trained editorial content describes a separate approach to producing and reviewing published material.
Pack the roadside safety essentials
The first purpose of a roadside kit is to help you stay visible and comfortable without creating more risk. Think about what you can use from a safe position, rather than packing equipment that invites a repair on a narrow shoulder. Choose compact items that are easy to find and operate, including in low light. General car emergency kit guidance can offer additional ideas, but tailor the final selection to your route and vehicle.
Choose a high-visibility vest and warning equipment
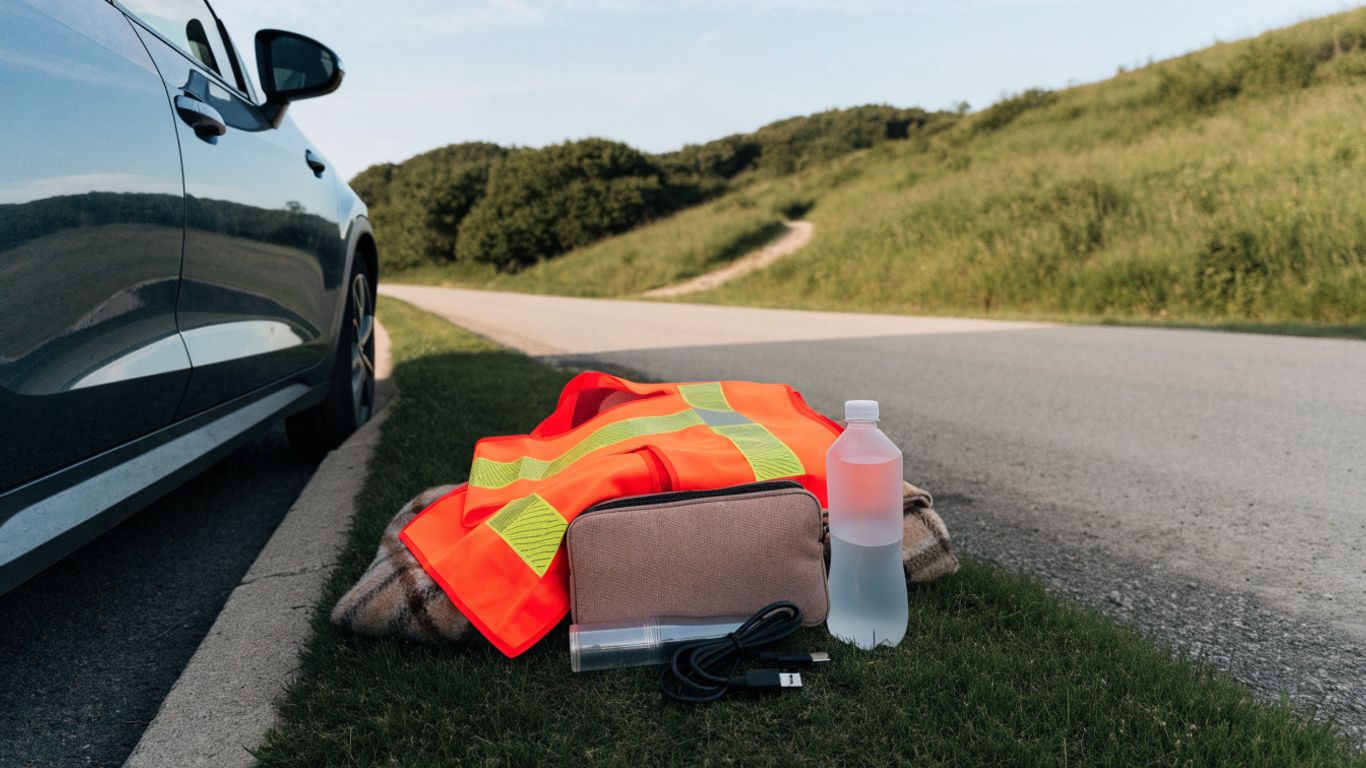
A reflective vest can make a person easier to see when getting out of a vehicle, while warning equipment may help alert approaching traffic if it can be placed safely. Follow local rules and the manual for where and how to use warning devices; never step into traffic to set one out. Put visibility items somewhere reachable without unpacking the trunk. Visibility comes before repairs when traffic is moving nearby.
Carry a flashlight, first-aid kit, and basic supplies
A flashlight helps with locating items and reading instructions after dark, and a first-aid kit can cover minor needs while you wait. Keep basic supplies such as gloves, tissues, and a simple blanket together so they are easy to find. A practical kit can be built around a few everyday categories:
- Light source with spare or rechargeable power
- First-aid supplies and disposable gloves
- Drinking water and a compact blanket
- Rain protection suited to the season
The right amount depends on who travels with you and how long help might take. Families may also find it useful to plan busy-family snack ideas for longer journeys, separate from the emergency equipment itself.
Add a phone charger and a backup power source
A working phone is often the quickest way to request help and share a location, so carry a charger that suits your vehicle and a charged backup power source. Check that cables fit your devices and store them where they will not be buried under luggage. Recharge power banks periodically, and do not rely on an accessory that you have never tested. If you are packing food for a long drive, keep it separate from your charging gear; Prime Performance Stack is a daily supplement, not roadside equipment.
Add tools suited to your MG’s powertrain
Tire and charging equipment should match the vehicle rather than a generic checklist. Start by identifying the repair method and cables that are actually compatible, then confirm their use in the manual. If there is any uncertainty, wait for qualified assistance rather than experimenting at the roadside. These choices matter especially when a breakdown happens in a place where stopping itself is hazardous.
Prepare for tire problems with the approved repair method
Check whether the vehicle’s approved option is a repair kit, a spare, or another arrangement, and learn the instructions before you need them. A sealant kit may have limitations, and not every tire problem is suitable for a temporary repair. This quick reference helps separate preparation from roadside action:
| Situation | Before travel | At the roadside |
|---|---|---|
| Repair kit supplied | Check contents and expiry | Follow the manual’s steps |
| Spare tire supplied | Confirm tools and condition | Change it only in a safe place |
| Unsure what is included | Inspect storage compartments | Call for assistance |
The table is a reminder to verify the equipment, not a substitute for the vehicle’s instructions. If the tire damage or roadside position makes a repair unsafe, stay clear of traffic and request help.
Understand when an EV tire sealant kit is appropriate
A sealant kit is only appropriate when the vehicle’s instructions allow it and the damage meets the stated conditions. Read the kit’s limits in advance, including any direction about driving afterward or getting the tire inspected. Do not assume sealant will resolve a large puncture or damage to the wheel. If the situation falls outside the instructions, leave the repair to roadside assistance.
Carry charging essentials for an MG electric vehicle
For an electric vehicle, confirm which charging equipment is included and whether it suits the journey you have planned. Check cables for damage, understand how to stow them, and plan charging stops before heading into a remote area. Equipment supplied with a vehicle can vary, so verify rather than relying on someone else’s packing list. Keep charging gear dry and secured, and follow the vehicle and equipment instructions.
Avoid handling high-voltage components after a breakdown
High-voltage systems are not roadside repair projects. Do not touch damaged cables, exposed components, or parts marked with high-voltage warnings, and do not attempt to access the battery system. Move to a safe place if possible and call for qualified help. A general roadside emergency kit guide can help with planning supplies, but it does not replace model-specific instructions or professional assistance.
Respond safely when your MG breaks down
A breakdown can turn an ordinary road into a dangerous work area in seconds. The safest response depends on traffic, visibility, the vehicle’s condition, and the space around you. Avoid rushing into a repair simply because the kit is within reach. First focus on getting people away from immediate hazards and contacting help.
Move to a safe location if the vehicle can be driven
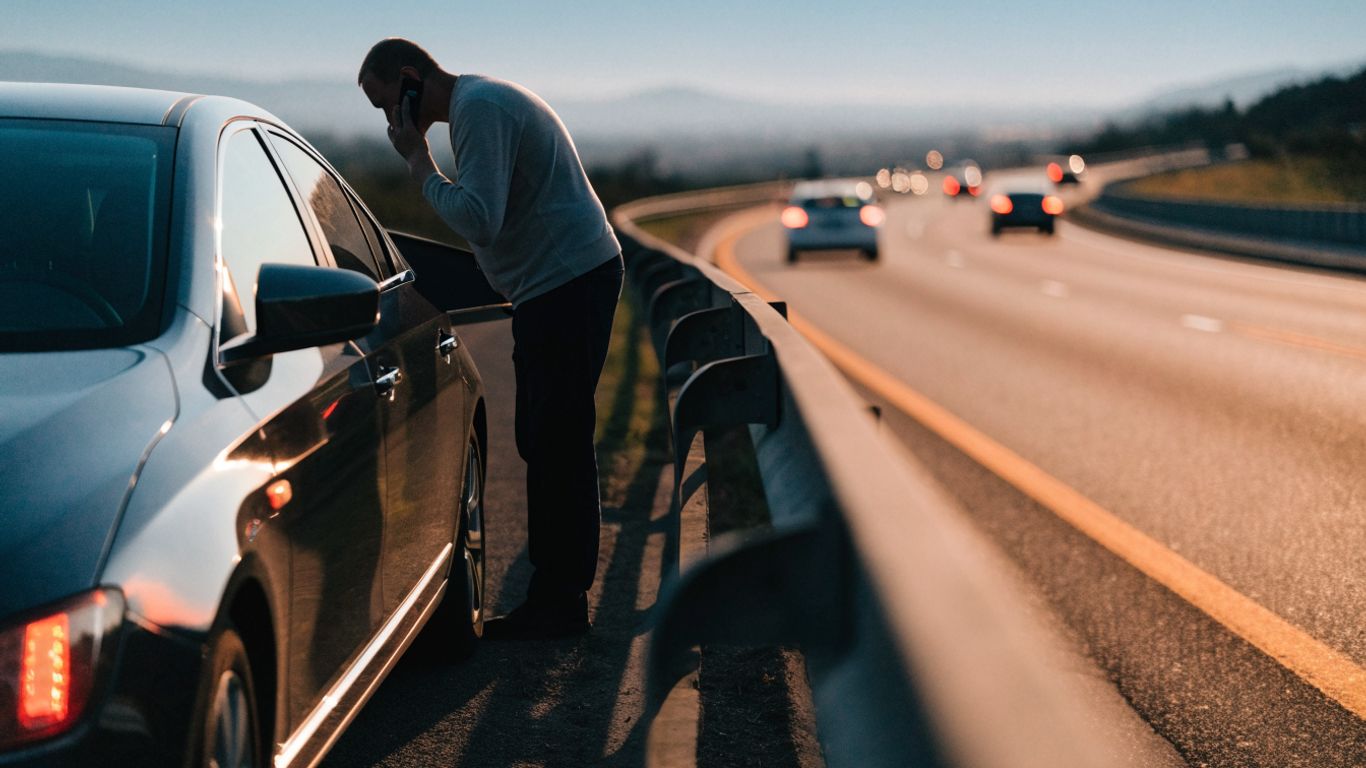
If the vehicle remains controllable and it is safe to do so, move it away from moving traffic to a safe stopping place. Do not continue driving if a warning, loss of control, smoke, or another serious problem makes that unsafe. Once stopped, use the parking brake and follow the manual’s guidance. Choose a place where people can exit away from traffic if they need to leave the vehicle.
Make the car visible to approaching traffic
Turn on the hazard lights when appropriate and use reflective items only if they can be handled without stepping into danger. Keep people together in a safe location rather than standing behind or beside the vehicle in an exposed area. Do not place warning equipment where doing so requires walking in live traffic. A small, visible response is better than a risky attempt to make the vehicle conspicuous.
Call for assistance and share your location
Use your roadside assistance contact or emergency services as the situation requires. Share a clear location, travel direction, nearby landmark, and the number of people with you. If you are traveling with family, a fall sports checklist may be useful for organizing team travel gear on a different kind of trip; for a breakdown, prioritize the location and details requested by responders. If mobile service is limited, try to identify a safe, practical way to reach help rather than walking along a roadway.
Know when to stay inside the vehicle
Whether to stay inside depends on traffic, the roadside environment, and immediate dangers such as smoke or fire. If remaining in the vehicle is safer, keep seat belts fastened and wait for assistance. If leaving is necessary, exit away from traffic and move to a protected place, if one is available. Follow instructions from emergency personnel, and do not stand between the car and approaching vehicles.
Adapt the kit to weather and trip length
A short daytime commute calls for a different level of preparation than a long drive through remote areas. Weather can change what is useful and how quickly a wait becomes uncomfortable. Think about the likely conditions along the whole route, not only the forecast at departure. A few thoughtful additions can make waiting safer without turning the trunk into a storage unit.
Prepare for heat, cold, rain, or snow
Choose seasonal items that suit the conditions: sun protection and extra water in heat, warm layers in cold weather, and rain protection when showers are likely. In snow or ice, consider whether the route and vehicle are appropriate before setting out, and follow local travel advice. Store supplies so they remain usable, and replace anything damaged by heat or moisture. The safest kit is one you can reach and use without taking unnecessary risks.
Pack water and supplies for longer waits
For longer trips, carry enough water and simple food for the people traveling, taking account of children or other individual needs. Keep any personal medication in its original packaging and within reach, rather than relying on a general first-aid kit. It can help to make a short inventory before a long drive; some travelers also read GoldSignals.io market guides during downtime, but offline access and basic necessities should come first. Keep supplies secured so they do not become loose objects if the vehicle stops suddenly.
Add items for remote routes and overnight travel
A remote or overnight journey may call for warmer clothing, extra water, a power bank, and a plan for contacting help when coverage is weak. Check the route and expected conditions before leaving, and let someone know your general itinerary if appropriate. Pack only what you can store securely and retrieve without unloading everything on the roadside. A little extra preparation is useful; it should not encourage anyone to remain in an unsafe location.
Store and maintain the kit
A kit is only useful if the contents stay in good condition and can be reached when needed. Choose a storage spot that keeps items secure while leaving essentials easy to access. Check it after trips that use supplies and at regular intervals through the year. This routine also gives you a chance to remove items that no longer match the vehicle or your travel habits.
Secure items so they cannot move around the cabin
Use a closed bag or storage compartment and secure it so tools and supplies cannot slide into the passenger area. Keep heavier objects low and stable, and avoid placing loose equipment where it could interfere with driving controls. Check the arrangement after loading luggage, since bags can shift the kit or block it from view. A neatly packed kit should remain put during normal driving and be easy to identify.
Keep essential supplies accessible
Place the most time-sensitive items—such as a flashlight, reflective vest, and phone cable—where you can reach them without unloading the vehicle. Store less frequently used items together, but do not bury them under heavy cargo. Make sure each driver knows where the kit is and how to use its basic contents. If a particular item requires instructions, keep those instructions with it.
Inspect batteries, expiration dates, and tire equipment
Check rechargeable devices, flashlight batteries, first-aid supplies, and any tire equipment on a regular schedule. Replace expired or damaged items and confirm that cables and packaging remain intact. For repair products, follow the manufacturer’s storage and replacement guidance. A brief check before a long trip can catch a dead power bank or missing component while there is still time to fix it.
Replenish used items after each incident
After using the kit, replace what was consumed and return everything to its assigned place. Note any equipment that proved difficult to reach or unsuitable for the conditions, then adjust the setup before the next drive. If a repair item was used, check whether it needs replacement or inspection under its instructions. Restocking promptly means the kit is ready for the next unexpected stop.
Conclusion
A dependable roadside kit is less about carrying every possible tool than knowing what your vehicle includes, keeping a few essentials ready, and responding without putting yourself in traffic. Check the manual, tailor supplies to the journey, and maintain the kit so it is useful when a breakdown interrupts the drive.
Frequently Asked Questions
What should a basic roadside emergency kit include?
A practical starter kit usually includes a reflective vest, flashlight, first-aid supplies, phone charger, backup power source, water, and weather-appropriate items. Choose equipment that suits your vehicle and travel needs.
Should I keep a spare tire in my car?
That depends on the vehicle and its supplied equipment. Check the manual and inspect the vehicle to see whether it has a spare, repair kit, or another approved arrangement.
Can I use tire sealant for any puncture?
No. Use sealant only when the vehicle and kit instructions allow it and the damage fits their stated conditions. Otherwise, contact roadside assistance.
What should I do first when my car breaks down?
Focus on safety: move away from traffic if it is safe to do so, make the vehicle visible when appropriate, and call for assistance. Avoid attempting repairs in an exposed or hazardous location.
Is it safer to stay inside a broken-down car?
It depends on the location and immediate hazards. Staying inside may be safer in some situations, while smoke, fire, or another urgent danger may require leaving and moving away from traffic.
How often should I check my emergency kit?
Inspect it regularly and before longer trips. Check batteries, power banks, expiration dates, tire equipment, and whether anything used or damaged needs replacing.
What extra supplies are useful for a long road trip?
Consider extra water, simple food, weather-appropriate clothing, a charged backup power source, and any personal necessities. Adapt the amount to the route, weather, passengers, and likely wait times.