

Key Takeaways
A good fit starts with the exact vehicle details, not just the shape of the old lamp. Careful inspection and testing help confirm that the replacement works and seals properly.
- Match the assembly to the MG’s model, year, trim, body style, and market.
- Compare the part number, connector, and left- or right-side fitment before ordering.
- Inspect the lens, housing, seals, and seller’s return terms when comparing parts.
- Replace a damaged assembly carefully, following the vehicle-specific service instructions.
- Test every rear light function and check for leaks after installation.
What an MG tail light assembly includes
An MG tail light assembly is the rear lamp unit fitted to a particular vehicle position. Its exact construction and functions vary by model and year, so the term does not identify one universal part. Knowing the main pieces makes it easier to describe what needs replacing and to compare a candidate assembly with the one on the car.
Tail lamp housing, lens, and light sources
The housing holds and protects the lamp components, while the lens covers the light sources and shapes the visible output. Depending on the design, the assembly may also include bulb holders, wiring connections, and seals where it meets the body. Damage to any of these pieces can affect fit or allow water into the unit, so inspect the whole assembly rather than judging it by the lens alone.
Brake, turn signal, and reverse light functions
Rear lamps may combine several functions, but their layout differs across vehicles. A lamp can include tail and brake lighting, a turn signal, and a reverse light, with each function using a separate bulb or a shared arrangement depending on design. Check the owner’s manual or vehicle-specific parts information before assuming that a particular lens section performs a particular job.
Bulb-based and LED assembly designs
Some assemblies use replaceable bulbs; others use LED light sources, and some designs combine different technologies. The distinction matters when ordering: an assembly that looks similar may have a different connector, internal layout, or service method. Match the original design closely and confirm whether bulbs are included or need to be transferred or purchased separately.
How the rear lamp differs by MG model and year
Rear-lamp shape, mounting points, wiring, and finish can change between generations and body styles. Even within a model range, trims or regional versions may use different parts. For older British cars, a listing for a classic tail lamp assembly may cover only particular vehicles and years; the listed applications should not be treated as a match for every MG.
How to find the right assembly for your MG
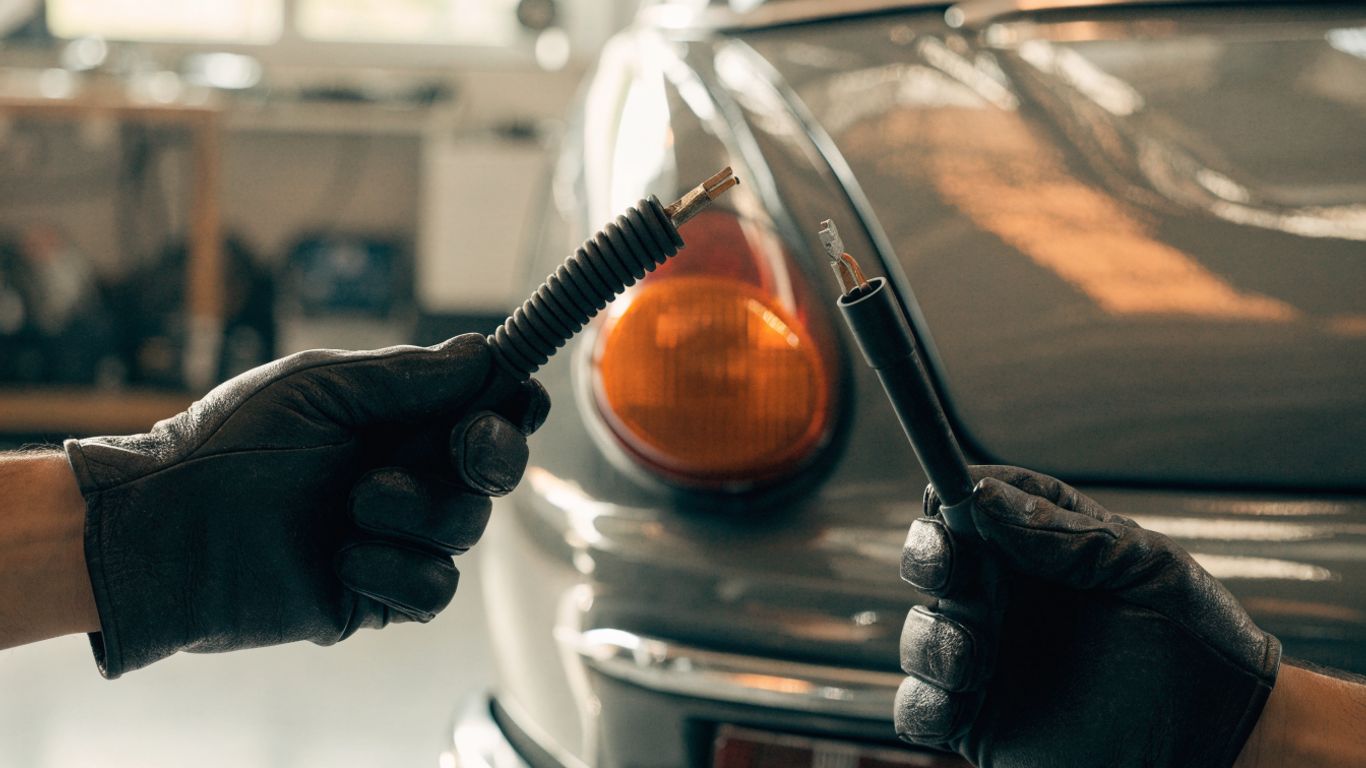
Start with the vehicle identification details and the part currently fitted, then verify the seller’s fitment information. Model names alone can be too broad to establish compatibility. The image below shows the kind of identifying details and comparison points that are useful when checking a listing.
Confirm the model, year, trim, and body style
Write down the full model designation, model year, trim, and body style before searching. If available, use the vehicle identification number to confirm the exact version with a parts catalogue or supplier. This is particularly useful when a model name spans multiple generations or when a facelift changed the rear lights.
Match the part number and connector
Compare the number on the old assembly with the number in the listing, and check that the electrical connector and mounting arrangement agree. A visual match is helpful, but it is not enough by itself. This quick comparison table shows why several details need to line up together.
| Check | What to compare | Why it matters |
|---|---|---|
| Part number | Number on the old unit and listing | Helps verify the intended application |
| Connector | Shape, pin count, and position | A mismatch can prevent a proper connection |
| Mounting points | Studs, clips, and screw locations | Determines whether the unit can be secured |
| Lamp layout | Lens sections and light functions | Helps confirm the design is the correct version |
If the number is missing or unreadable, ask the supplier to verify compatibility using the vehicle details and clear photos. Avoid relying on a listing title that gives only a broad model family.
Check left-side versus right-side fitment
Confirm which side of the vehicle the part is for, using the seller’s stated left- or right-hand fitment and the vehicle’s orientation as specified in the listing. Rear lamp units may look nearly symmetrical but use different housings or mounting points. When a listing uses driver-side and passenger-side terms, check how those terms are defined for the market where the vehicle was sold.
Verify compatibility for regional versions
Lighting equipment can vary by market, including lens colour, reflectors, connectors, and regulatory details. Compare the existing lamp and the listing photos, and confirm the part’s stated region of fitment with the supplier. A reference to one MG version should not be assumed to cover another; exact applications matter more than a broad resemblance.
OEM and aftermarket assembly options
A replacement may be an original part, an aftermarket part, or a used assembly removed from another vehicle. Each option calls for the same basic checks: fitment, condition, completeness, and the seller’s terms. Online listings for genuine and aftermarket MG tail lights illustrate that both types may be offered, but a listing still needs to be checked against the specific car.
Comparing original and replacement parts
An original part can be useful when matching the existing design, but availability and condition vary. Aftermarket options may offer another route to a replacement; compare their stated fitment, included components, and return terms rather than assuming all replacements are equivalent. In either case, ask whether bulbs, sockets, and seals are included if those details are not clear.
Checking lens quality, seals, and materials
Look closely at listing photos for uniform lens colour, clean edges, intact mounting points, and a sound housing. Seals should sit evenly and appear undamaged; a poor seal can allow moisture behind the lens. Also check that the material and finish resemble the original closely enough to fit the body opening without force.
Reviewing warranties and return policies
Read the warranty and return terms before ordering, including any conditions for electrical parts or items that have been installed. Confirm who handles return shipping and what proof of fitment or defect may be required. For a replacement assembly, the useful details are the coverage period, exclusions, and procedure—not simply a general promise that returns are accepted.
When a used assembly may be worth considering
A used unit may be a practical option when it is the correct part number and has no cracks, broken mounts, corrosion, or signs of water intrusion. Request clear photos of the lens, rear housing, connector, and mounting points. Check whether bulbs or other small components are present, and weigh the condition against the seller’s return policy before deciding.
Signs the tail light assembly needs attention
A rear lamp can need attention because of physical damage, a failed light source, a poor connection, or a problem elsewhere in the circuit. A fault may be obvious, or it may appear only intermittently. A close inspection can help separate a damaged assembly from an issue that calls for further electrical diagnosis.
Cracked lenses and housing damage
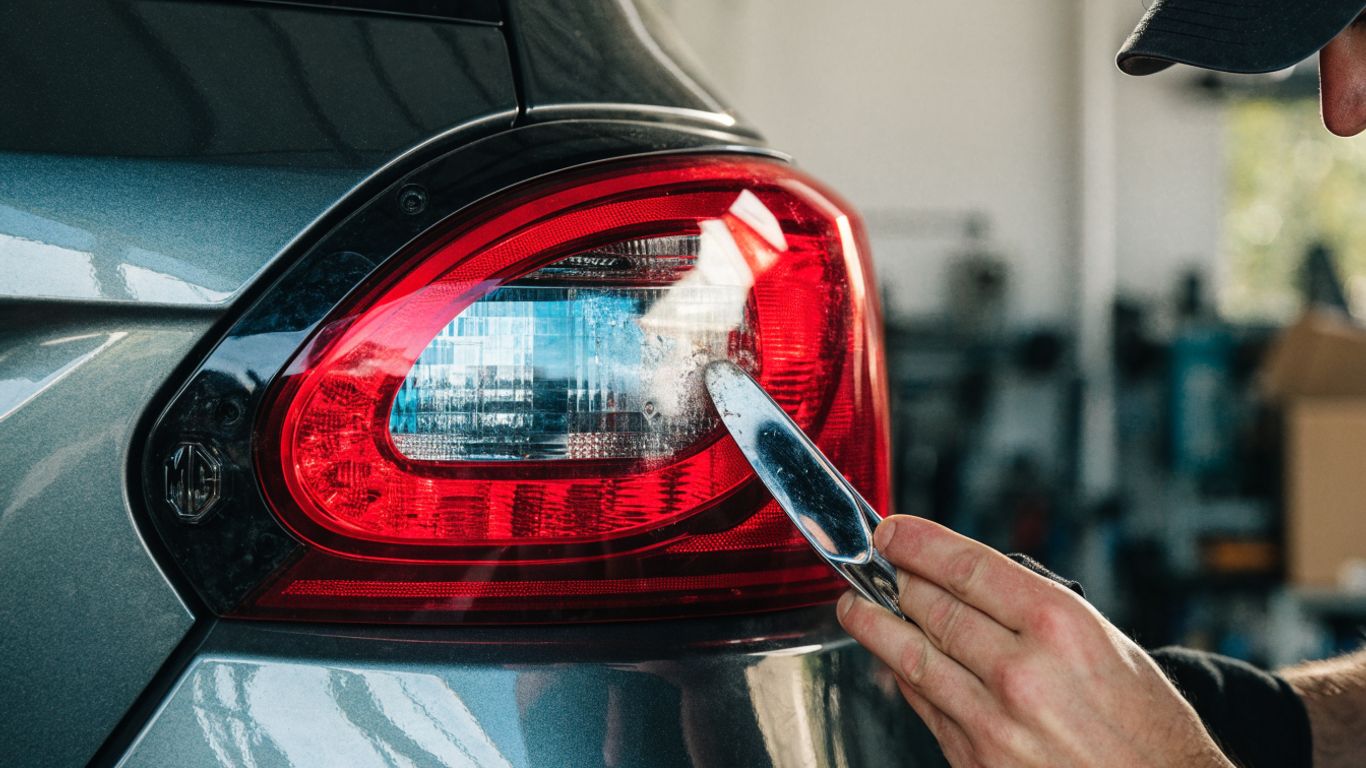
Cracks, chips, and broken mounting tabs can compromise the lamp’s protection and stability. Even a small crack may let moisture enter, while a loose housing can vibrate or sit unevenly. Check the surrounding body panel too, since impact damage there may affect how a replacement fits.
Moisture, condensation, or water inside the lamp
A light haze that clears can sometimes occur with changes in temperature, but persistent condensation, droplets, or standing water deserve attention. Inspect the lens edge, housing, and seal for damage or gaps. If water returns after drying, find and correct the entry point rather than repeatedly drying the lamp alone.
Dim, flickering, or nonworking lights
A dim or flickering lamp may point to a failing bulb, a loose connector, damaged wiring, or a poor ground; it does not automatically mean the whole assembly must be replaced. Check each rear function separately and compare the affected side with the other side. If the bulb is replaceable, inspect it according to the vehicle’s service instructions before ordering a complete unit.
Warning lights and intermittent electrical faults
Some vehicles may display a warning when an exterior light is not working, while others may not. A fault that comes and goes can be caused by a loose connection, corrosion, wiring damage, or a failing component. Note when it occurs and whether bumps, rain, or using another light function seem to affect it; those observations can help narrow down the diagnosis.
How to replace an MG tail light assembly
The exact removal method depends on the MG model and year, so use the vehicle’s service information for fastener locations and safety steps. Work slowly around trim and painted surfaces, and do not force a lamp that remains caught. The general sequence below can help you prepare, but it is not a substitute for model-specific instructions.
Gather tools and prepare the vehicle
Park on a level surface, switch off the ignition and lights, and make sure the area is well lit. Gather the correct hand tools and protect nearby paint and trim; the required tools vary by vehicle. Before starting, it helps to have the following ready:
- The replacement assembly verified for the vehicle and side.
- The appropriate hand tools for the fasteners on that model.
- A clean cloth or protective covering for the bodywork.
- Vehicle-specific service instructions and, if needed, a safe way to isolate the battery.
Check the instructions for whether battery disconnection is required and how to do it safely. Keeping the old unit intact until the new one is confirmed can also make it easier to compare connectors and mounting points.
Access the lamp from inside the rear compartment
Open the rear compartment and locate the access panel or trim behind the lamp. Some vehicles provide direct access; others require removal of interior trim. Use the specified method for the vehicle, keeping clips and fasteners together so they can be refitted without damage.
Disconnect the wiring and remove the old assembly
Once the mounting area is accessible, identify the connector and release its latch without pulling on the wires. Remove the specified fasteners and support the assembly as it comes free. If it resists, check for an overlooked clip or screw rather than levering against the bodywork.
Fit the replacement and check the seal
Compare the replacement with the old unit before installation: check the connector, mounting points, and seal. Seat the assembly evenly and tighten the fasteners as directed, without overtightening plastic parts. Refit any trim and confirm that the lamp sits flush against the body; correct alignment helps the seal make consistent contact.
How to test and troubleshoot the installation
Testing after installation confirms more than whether the lamp turns on. Check each light function, look for warning messages, and inspect the unit’s seating and seal. A video about lighting and sound concerns production rather than vehicle repair, but the general idea that lighting conditions affect what you can see is a reminder to inspect lamps in clear, adequate light.
Test the brake, turn, tail, and reverse lights
Ask another person to help observe the rear lamps, or use a safe reflective surface where appropriate. Test the tail lights, brake lights, turn signals, and reverse lights separately, following the vehicle’s instructions. Confirm that the correct side and section illuminate, and check both sides for normal operation.
Check connectors, bulbs, and fuses
If a function fails, switch the lights off before inspecting the connector or a replaceable bulb. Make sure the connector is fully seated and look for bent contacts, corrosion, or damaged wiring. Check the relevant fuse using the vehicle’s manual; if a replacement fuse fails again, investigate the underlying fault rather than fitting another fuse repeatedly.
Find the source of leaks or condensation
If moisture appears, inspect the lens and housing for cracks and check whether the seal is evenly compressed against the body. Confirm that the assembly is seated properly and that no trim or wiring is caught under the edge. Drying the interior without correcting a damaged seal or housing is unlikely to resolve recurring water entry.
Confirm the lamp is secure and aligned
Finish by checking that the fasteners are secure, the lamp sits evenly, and the surrounding body gap looks consistent. Make sure the rear compartment trim has been returned to position and no wires are pinched. If the unit moves, sits proud, or leaves a visible gap, revisit the fitment and mounting points before considering the job complete.
Conclusion
Choosing and replacing an MG tail light assembly is less about finding a lamp that looks close and more about confirming the exact fit, checking its condition, and testing every function after installation. Careful comparison, the right vehicle-specific instructions, and a final seal and alignment check can help prevent a simple repair from turning into a repeat job.
Frequently Asked Questions
Can I replace just a bulb instead of the whole assembly?
If the design uses replaceable bulbs and the housing, lens, and connections are sound, replacing the failed bulb may be sufficient. Some designs use integrated light sources, so check the vehicle-specific service information first.
How do I know whether a tail light assembly fits my car?
Compare the model, year, trim, body style, part number, connector, and side of fitment. If any detail is uncertain, ask the supplier to verify compatibility using the vehicle identification details.
Are left and right tail light assemblies interchangeable?
Not necessarily. They may have different shapes, mounting points, or internal layouts, so confirm the stated side before ordering.
Is condensation inside a tail light normal?
A light film may clear as conditions change, but persistent fogging, droplets, or standing water should be investigated. Check for cracks, a damaged seal, or incorrect seating.
Do I need to disconnect the battery to replace a tail light?
Requirements vary by vehicle and repair procedure. Follow the service instructions for the specific model, including any guidance on battery isolation and electrical safety.
What should I test after installing a replacement?
Check tail, brake, turn signal, and reverse light functions, then inspect the connector, lamp alignment, and seal. Also confirm that no warning remains and that the assembly is secure.
Can a damaged tail light assembly be repaired?
A replaceable bulb or a minor serviceable component may be addressed separately, but cracked lenses, broken mounts, or damaged housings often call for a replacement. The appropriate repair depends on the assembly design and the extent of the damage.