

Key Takeaways
A careful MG door seal replacement starts with matching the part to the car, then fitting it without stretching or damaging the rubber. Take time to check the door’s alignment and confirm the repair works before calling the job done.
- Match the seal to the car’s model, year, body style, and fixing method.
- Compare the replacement with the old seal before removing anything.
- Clean and inspect the mounting area before fitting the new rubber.
- Avoid stretching the seal, and use adhesive only when its design calls for it.
- Test door closure, window operation, and water resistance after installation.
Identify the correct door seal for your MG
MG door seals vary by model and body style, so a part that looks close may still fit poorly. Before ordering, identify which seal you need and how it attaches to the car. A little comparison now can prevent a frustrating installation later.
Confirm the model, year, and body style
Start with the exact model and year, then note whether the car is a roadster, coupe, GT, or another body style. Record any relevant changes to the door or surrounding trim if the car has been restored or modified. Parts descriptions may group several years together, but that does not guarantee every variation uses the same seal.
Distinguish the main door seal from window and quarter-light seals
The main door-opening seal sits around the aperture or door edge, depending on the design. Window wipes, glass channels, and quarter-light seals serve different locations and should not be treated as interchangeable. If a leak appears near the glass, identify the source before buying a perimeter seal; replacing the wrong piece may leave the original problem untouched.
Compare seal profiles, materials, and attachment methods
Look at the seal’s cross-section and how it sits against the body. Some designs push onto a flange, while others use clips, fasteners, or adhesive; material and profile can also differ. Use the comparison below to narrow down what to verify with the seller or parts listing.
| What to compare | What to check | Why it matters |
|---|---|---|
| Profile | Shape and contact surface | A close-looking profile may compress differently |
| Material | Rubber, flocked material, or a combination | Material affects how the seal sits and wears |
| Attachment | Push-on, clip, screw, or adhesive | The fixing method must suit the mounting area |
| Application | Model, year, and body style | Similar cars can use different seal patterns |
Treat the table as a starting point, not proof of fit. Compare the old seal and the car’s mounting edge with the replacement details before placing an order.
Check fitment details before ordering
Read the application notes closely and ask for clarification if the listing does not identify your exact body style or fixing method. A listing for black velour and rubber door seal gives an example of why application details matter: the described product covers particular classic-car models and uses. For MGB owners, a body rubber and seals listing is another place to review the stated part category and application before buying.
Gather tools and prepare the door
Preparing the car carefully makes the job neater and reduces the chance of scratching paint or bending a mounting edge. Gather tools based on the seal’s actual fixing method rather than assuming every installation is the same. Work in a clean, well-lit area, and allow enough time to fit the seal without rushing.
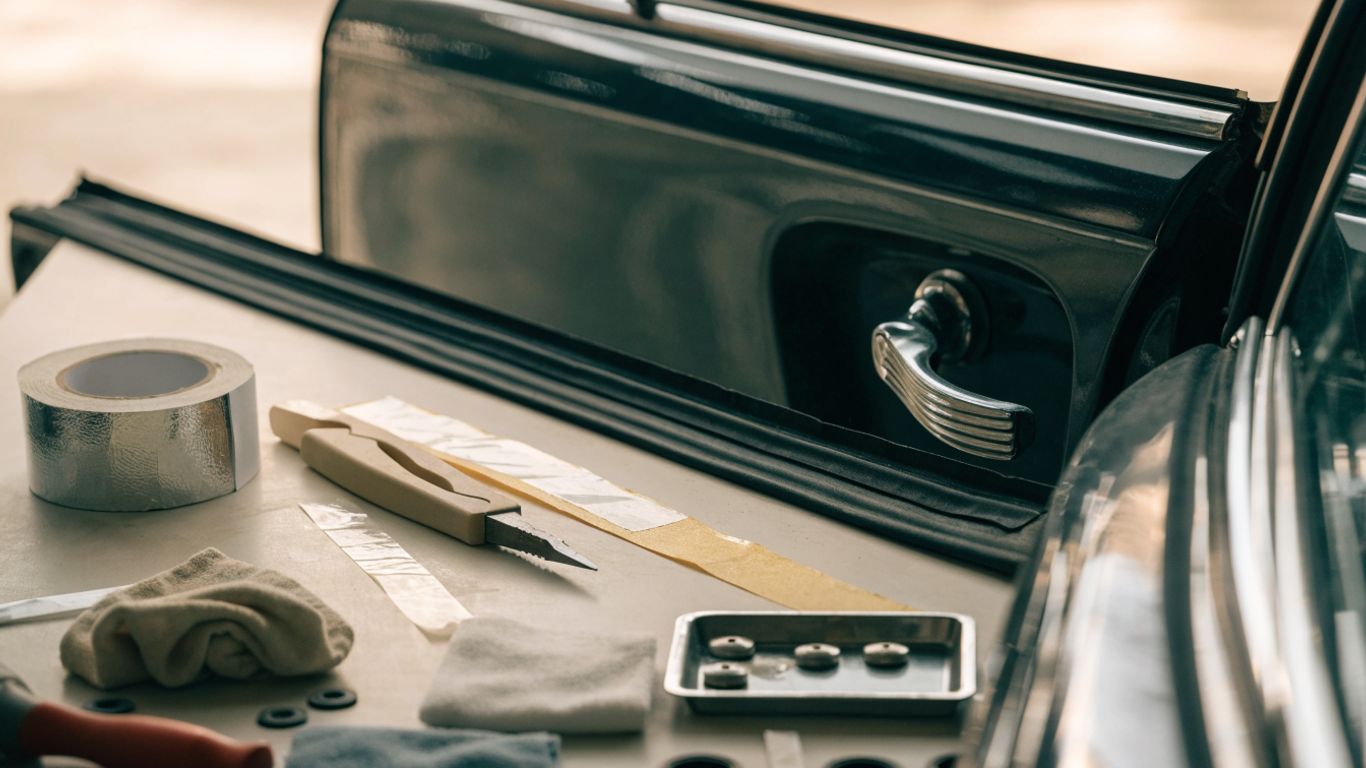
Choose tools and supplies for the seal and fixing type
The exact kit depends on whether the seal is retained by clips, screws, or adhesive. A small set of suitable tools is usually more useful than a large collection that encourages levering against painted surfaces. Gather what applies to your specific seal before beginning:
- Plastic trim tools for easing out clips without marking nearby surfaces.
- A screwdriver or small socket set if the seal uses removable fasteners.
- A suitable adhesive remover and clean cloths if old adhesive is present.
- Masking tape and protective covers for the paint, trim, and glass.
Keep a container nearby for removed clips and screws, since small fasteners are easy to lose. If a fixing resists, pause and check how it is retained rather than applying more force.
Protect the paint, trim, and glass
Cover the adjacent paintwork and glass before working along the aperture. Use a protective layer that will not leave residue, and avoid placing tools where they could slide onto a finished surface. If interior trim needs to move for access, protect its edges as well; small scuffs are easy to make while concentrating on the seal itself.
Inspect the door aperture and drainage points
Look over the full mounting area before disassembly, including the lower corners and any visible drainage openings. The path for water to leave the door should remain clear after the repair. If you find standing water, blocked drains, or signs of corrosion, address those conditions rather than covering them with a new seal.
Test-fit the replacement seal before installation
Hold the new seal against the opening and compare its orientation, profile, and end locations with the old piece. This dry check can reveal a mismatch before the car is partly dismantled. Confirm that the seal reaches the intended corners and sits on the correct edge; do not pull it tight to make an uncertain part appear to fit.
Remove the old door seal
Removing the old rubber slowly gives you useful information about its orientation and attachment. It also helps protect the paint and the mounting flange, which can be difficult to repair if bent. Work in short sections and keep the new seal out of the work area until the surface is clean.
Note the seal’s orientation and joint location
Before lifting anything, photograph the seal in place and note where its ends meet. Record which side faces outward and how the profile sits around corners or changes in the aperture. Those details provide a practical reference when the replacement has a similar shape but no obvious markings.
Remove clips, screws, or adhesive without damaging the body
Release the fixing method you identified during inspection. Ease clips out with a suitable trim tool, remove screws with the correct driver, and separate adhesive gradually rather than tearing the rubber away in one pull. Avoid prying against a painted edge; if a section remains fixed, look for an unseen fastener or adhesive before continuing.
Clean away old adhesive and residue
Once the old seal is off, remove loose residue with a product appropriate for the car’s finish and the material underneath. Test a cleaner in an inconspicuous place if you are unsure how it will react. A clean mounting area gives the replacement a more consistent seat, but aggressive scraping can damage paint or leave a rough surface.
Check for rust, dents, or damaged mounting channels
Inspect the exposed edge for corrosion, dents, bent flanges, and sections where clips may no longer hold securely. A replacement seal cannot correct a distorted mounting channel or rust underneath it. Deal with any underlying damage first, and seek suitable bodywork advice if the metal is significantly weakened.
Install the replacement door seal
With the surface clean and the fixing points understood, install the seal in the orientation noted during removal. The aim is an even, relaxed fit rather than tension along the length. Follow the instructions supplied with the part, since profiles and attachment methods differ.
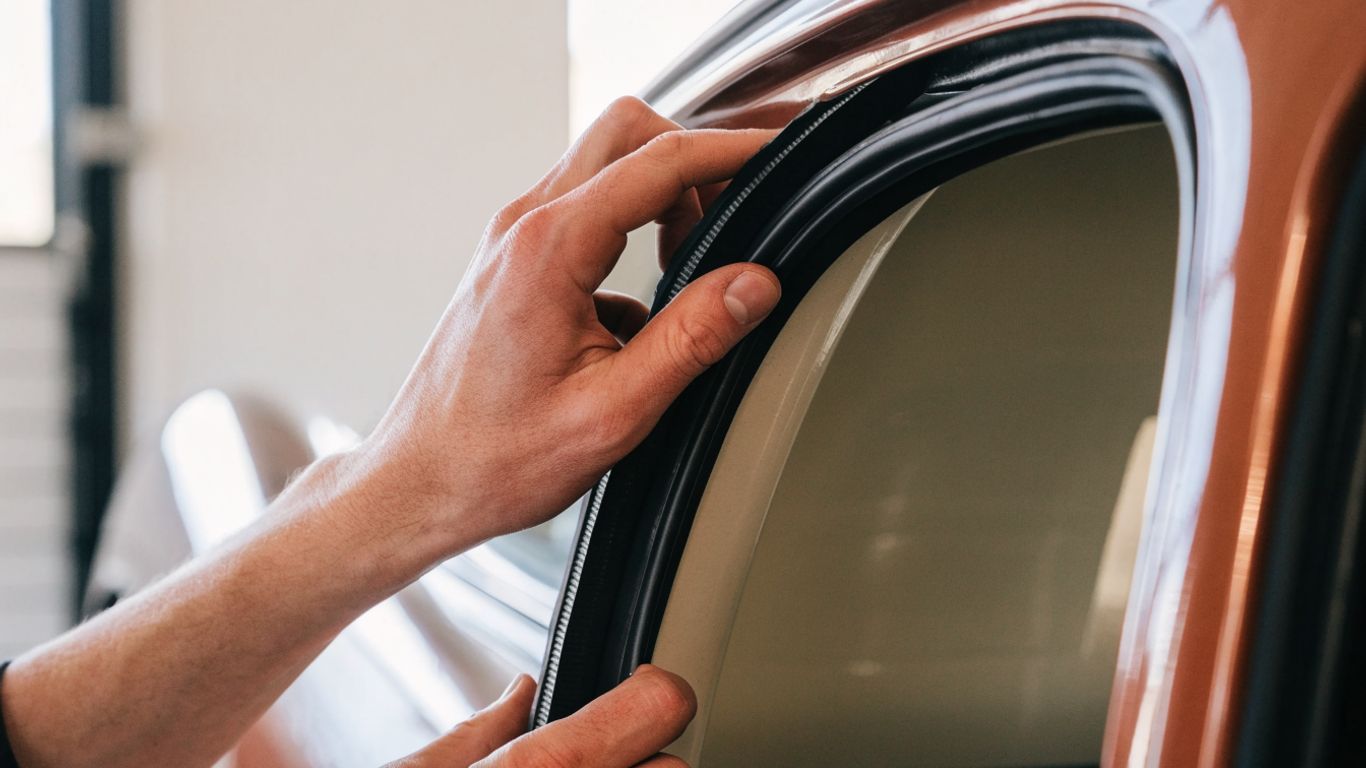
Position the seal and align its ends
Begin at the specified joint or another reference point recommended for the seal, then work around the opening in manageable sections. Keep the rubber naturally aligned with the aperture instead of pulling it to reach the next corner. Check that the ends meet where intended and that the profile is not twisted before securing it.
Fit clips or fasteners without stretching the rubber
Press the seal into place with steady, even pressure, using the designated clips or fasteners where provided. Avoid stretching the rubber between attachment points, as stretched sections may contract later and leave gaps. Pause occasionally to check that the profile remains seated and that the fixing points line up without force.
Apply adhesive only where the seal design requires it
Some seals rely on clips or a push-on fit, while others require adhesive at specified locations. Follow the part’s instructions rather than adding adhesive along the entire length by default. A thin, controlled application in the required areas is generally easier to manage than excess adhesive that can spread onto paint or trim.
Let adhesive cure according to the manufacturer’s instructions
If adhesive is part of the installation, observe the product’s stated working time and curing conditions. Do not close the door or disturb the seal sooner than instructed if that could shift its position. Once the required wait is complete, inspect the joint and the full perimeter before moving on to adjustments.
Adjust the door and troubleshoot fit
A new seal may feel firmer than the worn one, but the door should still close and latch properly. Check the fit in stages rather than immediately trimming rubber or changing the door alignment. A consistent contact pattern helps distinguish normal compression from a genuine installation problem.
Check that the door closes without excessive force
Close the door gently and listen for the latch to engage. It should not require a hard slam or unusual pressure, and it should not spring back from the seal. If closure is difficult, check that the seal is fully seated and correctly oriented before considering any adjustment to the door itself.
Look for uneven gaps and compressed sections
Compare the contact around the opening, paying particular attention to corners and the joint. A seal pressed flat in one area but barely touching in another may be twisted, misplaced, or mismatched to the opening. Inspecting the overall pattern is more useful than focusing on a single spot in isolation.
Address leaks, wind noise, or seal roll-out
If water or wind noise persists, first locate the area where the seal loses contact. Look for a rolled edge, a loose clip, an uneven end joint, or an obstruction on the mounting surface. A guide to MGB door window seals covers a separate door-glass sealing job; it can help distinguish window-seal work from the main door-opening seal repair.
Reposition or trim the seal only when appropriate
Try repositioning a section that has rolled or slipped before cutting anything. Trimming should be considered only if the seal instructions allow it and you have confirmed that excess length, rather than incorrect fitment or orientation, is the cause. Removing material is irreversible, so check the result with the door gently closed before making any final cut.
Verify the repair and maintain the seal
Once the seal is installed and the door closes correctly, check the repair under ordinary conditions. Give the rubber time to settle, and watch for any change in contact or door operation during the first few weeks. Keep observations focused on the repaired opening so that a separate source of water or noise is not mistaken for a seal fault.
Test for water leaks around the door opening
Use a gentle flow of water around the opening and inspect the interior for moisture. Avoid directing a forceful jet at the seal, since that does not mimic normal rain and can produce misleading results. If water appears, dry the area and repeat the check in smaller sections to locate where it enters.
Check window operation and door-latch engagement
Operate the window through its normal range and confirm that it does not catch on the new seal or surrounding trim. Open and close the door several times, checking that the latch engages consistently. If the job involved nearby glass or trim, inspect those areas too; maintenance guidance for coastal concrete sealers is a separate subject, not a substitute for checking this door repair.
Clean and condition the rubber as recommended
Use the cleaning and conditioning products recommended for the seal material, and avoid solvents or treatments that the manufacturer advises against. Wipe away grit before it can abrade the rubber or paint. For a household managing other seasonal upkeep, hardwood floor sealing and attic air sealing are distinct projects with their own preparation requirements; keep their materials and procedures separate from vehicle work.
Reinspect the seal after it settles in the first few weeks
After the first few weeks, check the end joint, clips, corners, and contact pattern again. A seal that has shifted or lifted may need to be reseated, while a persistent mismatch may point to an incorrect part or a damaged mounting edge. Keep the original fitment notes with the car’s records so future replacement is easier to identify.
Conclusion
A successful MG door seal replacement depends less on force than on getting the correct part, preparing the mounting area, and checking the fit as you go. Work patiently, follow the seal’s instructions, and verify that the door, window, and latch all operate normally before considering the repair complete.
Frequently Asked Questions
How do I know which door seal fits my MG?
Check the exact model, year, and body style, then compare the seal profile and attachment method with the car. If the application details are unclear, ask the supplier to confirm fitment before ordering.
Is the main door seal the same as a window seal?
No. The main seal and window or quarter-light seals sit in different locations and serve different parts of the opening. Identify where water or wind enters before deciding which seal needs attention.
Can I replace a door seal without removing the door?
Many seals can be accessed with the door in place, but the process depends on the car and the seal design. Follow the part instructions and avoid forcing access around trim or glass.
Should I use adhesive on every door seal?
No. Some seals use clips, fasteners, or a push-on fit, while others specify adhesive in particular areas. Use adhesive only when the seal design or its instructions require it.
Why is the door harder to close after installing a new seal?
The seal may be twisted, incorrectly positioned, too thick for the application, or not fully seated. Check the fit and contact pattern before adjusting the door or trimming the rubber.
How can I check whether the new seal leaks?
Apply a gentle flow of water around the door opening and inspect the interior for moisture. If a leak appears, dry the area and test smaller sections to identify where water enters.
How should I maintain a door seal?
Clean away dirt with a product suitable for the seal material and use conditioner only if recommended by its manufacturer. Recheck the seal periodically for lifting, damage, or changes in door closure.